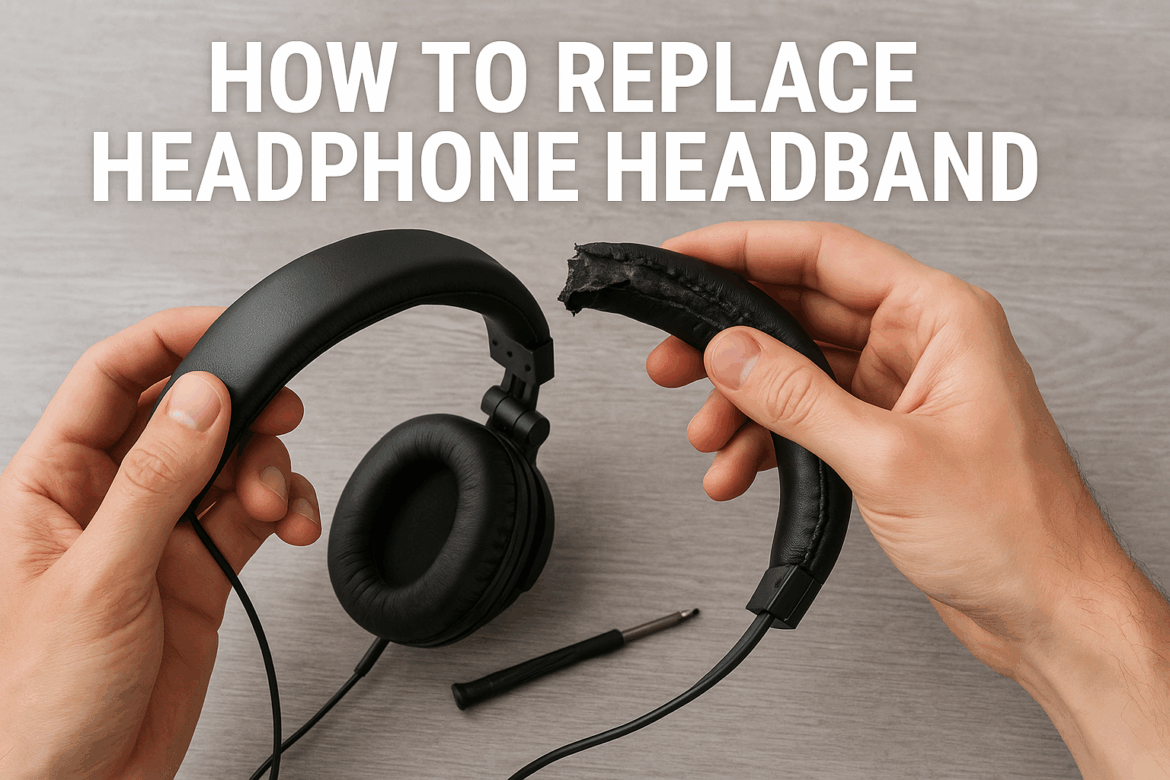
How to Replace Headphone Headband?
The world of audio equipment is a vast landscape, filled with the promise of sonic wonder and immersive experiences. Yet, even the most faithful of headphones can fall victim to the ravages of time, particularly the headband, which bears the brunt of daily wear and tear. Replacing a headphone headband may seem like a daunting task, but with the right guidance, it becomes a manageable endeavor. This article unfolds the steps to replace a headphone headband, ensuring your beloved auditory companion is restored to its former glory.
Understanding the Anatomy of a Headphone Headband
Before embarking on the journey of replacement, it’s crucial to understand the anatomy of a headphone headband. Typically composed of a flexible yet sturdy material, it serves as the bridge between the left and right ear cups. Within the headband may lie a metal or plastic core, providing structural integrity. The outer layer, often padded for comfort, is usually wrapped in fabric or leather.
Identifying the Need for Replacement
Recognizing when a headband needs replacement is the first step. Signs include visible wear such as cracks, exposed metal, or discomfort during use. A compromised headband can affect the fit and, consequently, the sound quality. If your headphone headband exhibits any of these symptoms, it’s time to consider a replacement.
Tools Required for the Replacement Process
To replace a headphone headband, you will need a few essential tools. These tools not only facilitate the process but ensure it is executed with precision and care.
- Screwdriver Set: Most headphones are held together by tiny screws. A precision screwdriver set is necessary to dismantle the headband from the ear cups.
- Replacement Headband: Ensure that the replacement headband is compatible with your headphone model. It’s advisable to purchase from the original manufacturer or a reputable supplier.
- Pliers: Needle-nose pliers can be handy for gripping small components or wires.
- Adhesive (if needed): Certain headbands might require adhesive to secure padding or covers.
- Soft Cloth: To protect the headphones and provide a clean workspace.
| Tool | Purpose |
|---|---|
| Screwdriver Set | To dismantle the headband from the ear cups |
| Replacement Headband | To replace the damaged component |
| Pliers | To handle small components or wires |
| Adhesive | To secure padding or covers (if required) |
| Soft Cloth | To protect headphones and maintain cleanliness |
Step-by-Step Guide to Replacing the Headband
1. Preparing Your Workspace
Begin by setting up a clean, well-lit workspace. Lay a soft cloth on your work surface to prevent scratches or damage to the headphones. Gather all necessary tools within reach to streamline the process.
2. Removing the Old Headband
Start by identifying the screws or clips that attach the headband to the ear cups. Using your precision screwdriver, carefully unscrew or unclip these attachments. Take care not to lose any small components during this process. If the headband is glued, gently use a pair of pliers to separate it without damaging other parts of the headphones.
3. Installing the New Headband
Align the new headband with the ear cups, ensuring it fits snugly. If screws are used, fasten them securely. For models that require adhesive, apply a small amount to ensure a firm bond, taking care not to overuse, as excess adhesive can interfere with the headphone’s functionality.
4. Testing the Assembly
Once the new headband is installed, it’s essential to test the assembly. Wear the headphones and make any necessary adjustments to the fit. Ensure that the ear cups are aligned properly and that the headband sits comfortably on the head. Test the sound quality to confirm that the replacement process hasn’t affected the audio performance.
Common Mistakes and How to Avoid Them
The journey of replacing a headphone headband is not without its pitfalls. Here are some common mistakes and tips on how to avoid them:
-
Using Incorrect Tools: Ensure you have the right tools to avoid damaging the screws or the headphone casing. Using an incorrect screwdriver size can strip screws, making them difficult to remove.
-
Incompatible Replacement Parts: Always verify the compatibility of the replacement headband with your specific headphone model. Incompatible parts can lead to a poor fit and may not provide the desired comfort or durability.
-
Over-tightening Screws: While securing the new headband, be cautious not to over-tighten screws. This can strip the threads or crack plastic components.
-
Neglecting to Test: After replacing the headband, it’s crucial to test the headphones thoroughly. This step ensures that all components are functioning correctly and that the comfort level meets your expectations.
Prolonging the Life of Your New Headband
Once you’ve successfully replaced the headband, it’s worth considering how to prolong its life. Regularly clean the headband with a soft cloth and avoid exposing it to excessive moisture or direct sunlight. Store your headphones in a protective case when not in use to minimize wear and tear.
Conclusion
Replacing a headphone headband is a task that blends technical skill with an appreciation for detail. It is a process that, when done with care, ensures your headphones continue to deliver the rich, immersive soundscapes you cherish. By following this guide, you can navigate the intricacies of headband replacement, transforming a seemingly daunting task into a rewarding endeavor. Embrace the journey with patience and precision, and let your headphones continue to be the vessel of auditory delight.
Last Updated on September 11, 2025
