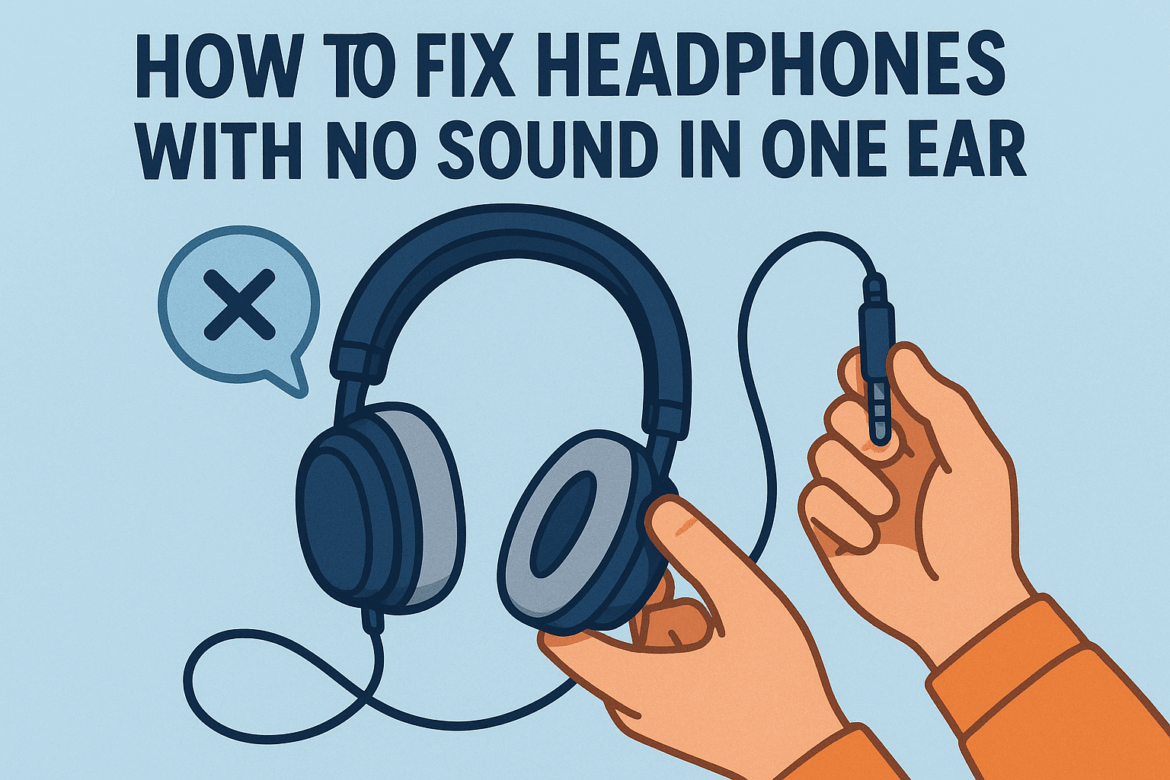
How to Fix Headphones with No Sound in One Ear?
Few things are as aggravating as settling into your favorite chair, ready to escape into your music, only to discover that your headphones are playing a one-sided symphony. If you’re grappling with the issue of headphones producing no sound in one ear, worry not. This conundrum is more common than you might think, and with the right tools and a bit of patience, it’s often fixable. Let’s journey through the process of diagnosing and resolving this all-too-familiar issue.
Understanding the Problem: Why Do Headphones Lose Sound in One Ear?
Before diving into solutions, it’s crucial to grasp why your headphones might be misbehaving. Generally, the problem stems from three main sources: the headphone jack, the cable, or the speaker itself. Understanding the root cause can make the repair process more efficient and less frustrating.
-
The Jack’s Woes
Imagine the headphone jack as the gatekeeper that ensures your music flows seamlessly from device to ear. Over time, dust, dirt, or lint can accumulate inside the jack, disrupting the connection. Alternatively, frequent plugging and unplugging might wear out the contact points, leading to intermittent sound. -
Cable Conundrums
The cable is the lifeline of your headphones. A minor kink or a subtle twist can lead to internal wire breakage, which is often invisible to the naked eye. This is especially common at stress points, such as near the plug or where the cable meets the earcup. -
Speaker Grumbles
On rare occasions, the speaker within the earcup might be the culprit. This could be due to a manufacturing defect, physical damage, or simple wear and tear from prolonged use.
Diagnosing the Issue: Step-by-Step
Before you can fix the problem, you need to pinpoint its location. Here’s how you can systematically diagnose the issue:
-
Swap the Sides: Plug your headphones into a different device. If the problem persists in the same ear, the issue lies with the headphones. If not, your device might be the problem.
-
Wiggle Test: Gently wiggle the cable near the jack, along the length, and near the earcup. If you hear intermittent sound, the cable likely has a break.
-
Check with Another Pair: Use another pair of headphones to confirm whether the issue is with the headphones or the audio source.
Tools You Might Need
Before embarking on the repair, gather the following tools. These are common household items or easily available at electronic stores.
| Tool | Purpose |
|---|---|
| Multimeter | To check for continuity in the wires. |
| Screwdriver Set | For disassembling headphones, if necessary. |
| Soldering Kit | To fix broken wires or connections within the headphones. |
| Cleaning Brush | To remove debris from the headphone jack. |
| Replacement Parts | Such as cables or jacks, in case a component is damaged. |
Fixing the Headphones: Solutions for Each Problem
Cleaning the Headphone Jack
A dirty headphone jack is a common yet often overlooked issue. A simple cleaning might restore your music to its full stereo glory.
- Turn off your device to prevent any short circuits.
- Use a flashlight to inspect the jack for visible debris.
- Insert a thin object, like a toothpick or a needle, wrapped in a small piece of tape with the sticky side out. Gently remove any dirt or lint.
- Test the headphones again to see if the sound has returned.
Repairing the Cable
If you suspect the cable, here’s how you can address it:
- Identify the Faulty Section: Use the multimeter to check for continuity along the cable. No continuity means a break in the wire.
- Cut and Strip the Cable: If you find a break, cut out the faulty section and strip the insulation from the ends.
- Solder the Wires: Twist the wires together and solder them. Make sure to insulate them with electrical tape or heat shrink tubing to prevent shorting.
- Test the Sound: Plug your headphones back in to check if the issue is resolved.
Replacing Faulty Speakers
If the speaker is at fault, consider replacing it:
- Disassemble the Ear Cup: Use a screwdriver to open the earcup and access the speaker.
- Remove the Speaker: Desolder the connections and carefully remove the speaker.
- Install New Speaker: Position the new speaker and solder the wires in place.
- Reassemble and Test: Put the earcup back together and test your headphones.
Preventive Measures: How to Avoid Future Issues
Once you’ve restored your headphones to their former glory, consider these preventive tips to extend their lifespan:
- Use a Case: Store your headphones in a case to protect them from physical damage.
- Avoid Tangling: Wrap the cable carefully to prevent unnecessary strain.
- Regular Cleaning: Periodically clean the headphone jack and earcups to prevent dirt accumulation.
Conclusion: Enjoying a Balanced Soundscape
Fixing headphones with no sound in one ear can be a gratifying endeavor, combining technical skill with a touch of detective work. While it may seem daunting at first, with the right approach and tools, you can often resolve the issue without professional help. By understanding the problem, diagnosing it accurately, and applying the appropriate fix, you can restore your headphones and once again enjoy your favorite tunes in full stereo.
Remember, headphones are akin to a good conversation—they require balance and clarity to be fully appreciated. So, take care of them, and they’ll serenade you with countless hours of auditory delight.
Last Updated on September 8, 2025
