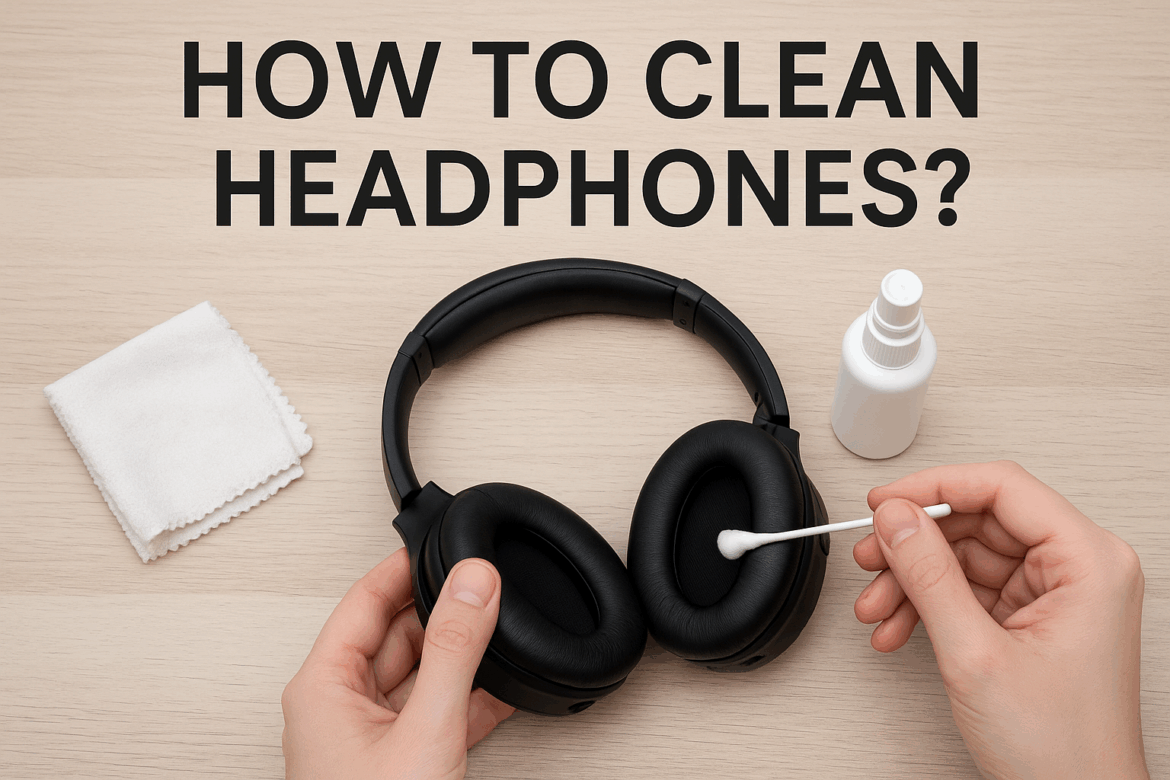
How to Clean Headphones?
In the realm of audio equipment, headphones stand as a trusted companion, whether you are immersing yourself in the intricate notes of a symphony or engaging in a riveting podcast. Yet, amidst the melodious journeys they facilitate, headphones can accumulate dirt and grime, subtly diminishing their performance. Cleaning your headphones not only ensures optimal sound quality but also extends their lifespan, preserving the integrity of your investment. This guide will unravel the artistry of cleaning headphones, transforming a mundane task into a symphony of care and precision.
Understanding the Importance of Cleaning Headphones
The essence of sound is purity, an untainted stream that flows uninterrupted to the ear. However, when headphones collect dust, sweat, and earwax, this purity is compromised. Regular cleaning of headphones is essential not only for maintaining sound quality but also for hygiene. Ear infections and other auditory issues can arise from neglecting this crucial maintenance task.
Tools Required for Cleaning Headphones
Embarking on this journey requires the right ensemble of tools. The following table presents the essential items needed to clean your headphones effectively:
| Tool | Purpose |
|---|---|
| Microfiber Cloth | For wiping surfaces without scratching. |
| Isopropyl Alcohol | Disinfects and removes stubborn grime. |
| Cotton Swabs | Reaches into crevices and cleans small parts. |
| Soft-bristled Brush | Sweeps away dust and debris from delicate areas. |
| Compressed Air | Blows away particles from hard-to-reach places. |
| Mild Soap Solution | Cleans non-electronic parts gently. |
These tools, akin to an artist’s palette, equip you to restore the brilliance of your headphones with meticulous care.
Step-by-Step Guide to Cleaning Headphones
The journey to pristine headphones is orchestrated through a series of careful steps, each contributing to the symphony of sound that follows.
1. Preparing for the Cleaning Process
Before embarking on the cleaning voyage, it is essential to unplug the headphones from any devices and remove the ear pads if they are detachable. This not only ensures safety but also allows for a more thorough cleaning process.
2. Cleaning the Ear Pads
Ear pads, akin to the cushions of a grand piano, play a crucial role in the overall comfort and sound experience. To clean them:
- Detach the Ear Pads: If possible, remove them to access all areas.
- Wipe with a Microfiber Cloth: Use a slightly damp microfiber cloth to gently wipe away any surface dirt.
- Disinfect with Isopropyl Alcohol: Dampen a cotton swab with isopropyl alcohol and lightly rub the surface to disinfect and remove any lingering grime.
3. Cleaning the Headband
The headband, often overlooked, is the backbone of your headphones, holding the symphony together. To clean it:
- Wipe Down the Surface: Use a microfiber cloth dampened with a mild soap solution.
- Disinfect: Follow up with isopropyl alcohol for a thorough cleanse.
4. Cleaning the Drivers and Mesh
The drivers are the heart of your headphones, translating digital symphonies into audible marvels. Cleaning them requires delicacy:
- Use a Soft-bristled Brush: Gently sweep away any dust or debris from the mesh covering the drivers.
- Compressed Air: Use short bursts to blow away any remaining particles.
5. Cleaning Cables and Connectors
The cables, like the strings of a violin, transmit the sound from your device to your ears. To maintain their integrity:
- Wipe with a Microfiber Cloth: A slightly damp cloth will suffice to clean the cable.
- Check for Damage: Inspect the cable for any signs of wear or damage, ensuring a seamless connection.
Common Mistakes in Cleaning Headphones
In the pursuit of pristine headphones, it is easy to make errors that can compromise the sound quality. Here are common pitfalls to avoid:
- Using Excessive Moisture: Too much liquid can seep into the electronics, causing damage.
- Applying Pressure: Pressing too hard can damage delicate components like the mesh or drivers.
- Neglecting Regular Cleaning: Irregular cleaning can lead to buildup that is harder to remove.
Conclusion: Harmonizing Care with Performance
Cleaning headphones is an art, a delicate balance of precision and care that ensures the longevity and performance of your cherished audio companions. By following the steps outlined in this guide, you can maintain the clarity and purity of sound, allowing your headphones to continue delivering the symphonies of life uninterrupted.
As you embark on this journey of care, remember that each action contributes to the greater harmony of sound, preserving the nuances that make each listening experience unique. Whether it’s the gentle strum of a guitar or the commanding crescendo of a full orchestra, your headphones, when well-maintained, will faithfully reproduce the world of sound in all its vibrant glory.
FAQs: Ensuring Clarity in Your Journey
- How often should I clean my headphones? Regular cleaning is recommended every two weeks, but this can vary depending on usage.
- Can I use vinegar instead of isopropyl alcohol? While vinegar can be a natural alternative, it may not be as effective in disinfecting.
- What should I do if water enters the drivers? Immediately cease use and allow the headphones to dry completely before testing.
In this symphony of sound and care, let your headphones be the conduit for a world of auditory wonder, unmarred by the passage of time and accumulation of grime.
Last Updated on September 12, 2025
