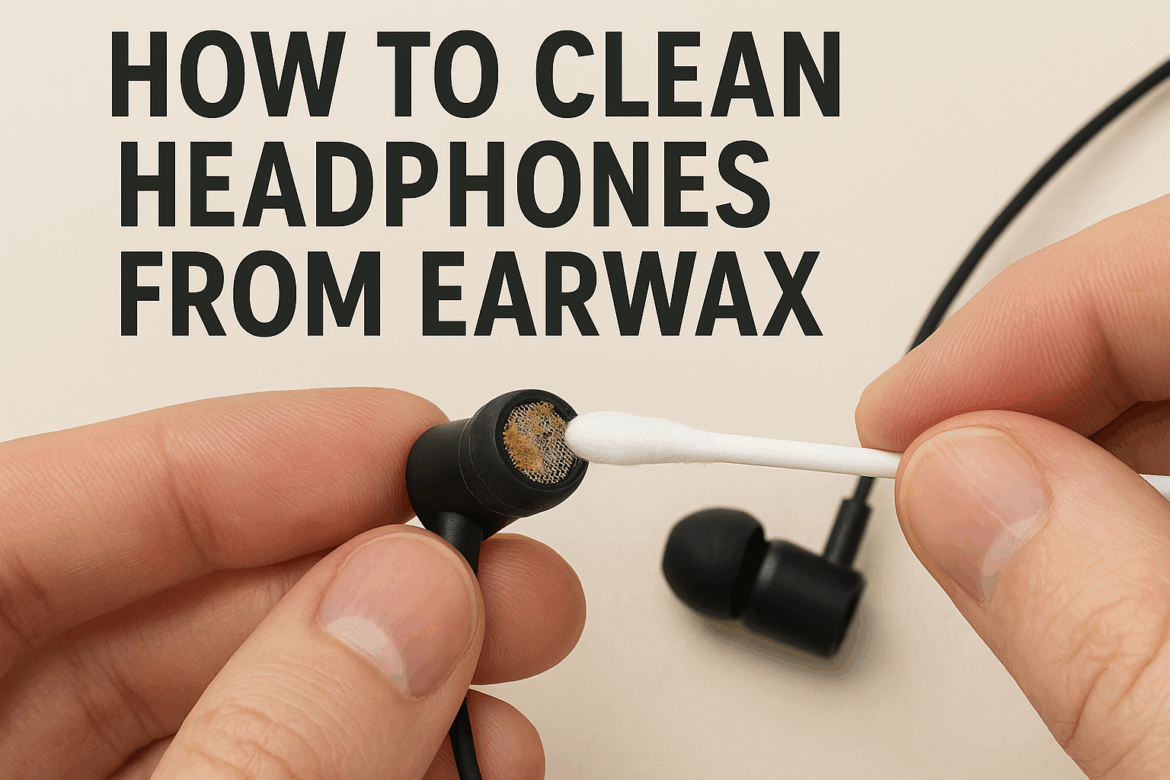
How to Clean Headphones from Earwax: A Comprehensive Guide
In the world of personal audio, headphones serve as our intimate bridge to the symphonic universe of sound. As they nestle in our ears, delivering melodies and podcasts alike, they unfortunately accumulate earwax over time. While earwax is a natural defense mechanism for our ears, acting as a barrier against dust and bacteria, it can be less than harmonious for your headphones. Cleaning them is not just about hygiene; it’s about preserving the integrity of your audio experience. Let us delve into the art of restoring your headphones to their pristine glory.
The Importance of Cleaning Headphones
Headphones are not just gadgets; they are companions in our daily lives, narrating stories and serenading us with music. However, earwax and other debris can clog the intricate components of these devices, muffling sound and potentially causing long-term damage. Regular cleaning ensures optimal performance and longevity, allowing each note to ring with the clarity it deserves.
Understanding Your Headphones
Before embarking on the cleaning journey, it’s crucial to understand the type of headphones you possess. Different designs require different cleaning techniques. Below is a table that outlines the common types of headphones and their characteristics:
| Type | Characteristics | Cleaning Complexity |
|---|---|---|
| In-ear (earbuds) | Compact, inserted into the ear canal | Moderate |
| On-ear | Sit on the outer ear | Low |
| Over-ear | Envelop the entire ear | Low |
| Wireless | May include additional components | High |
Each type, from the snug fit of in-ear earbuds to the encompassing embrace of over-ear models, deserves its own methodical approach.
Tools Needed for Cleaning Headphones
The symphony of cleaning begins with assembling the right instruments. Having the proper tools at your disposal ensures a safe and effective cleaning process. Here’s what you’ll need:
- Soft, Lint-Free Cloth: Essential for wiping down surfaces without scratching them.
- Cotton Swabs: Perfect for reaching into small crevices.
- Isopropyl Alcohol (70%): A gentle disinfectant that evaporates quickly.
- Small Brush: Useful for dusting off debris.
- Warm Water & Mild Soap: For gentle cleaning of detachable parts.
- Compressed Air Can: Helps blow out particles from hard-to-reach areas.
Step-by-Step Cleaning Process
Now that we have our tools, let’s embark on the cleaning procedure, a process akin to tuning an instrument to perfection.
Preparation
Begin by unplugging your headphones and removing any detachable parts, such as silicone ear tips or padding. Lay out your tools on a clean, dry surface, ready to orchestrate the cleaning.
Cleaning In-Ear Earbuds
- Ear Tips: Remove the silicone or foam tips. Soak them in warm, soapy water for about 5 minutes, then rinse and dry thoroughly.
- Speaker Mesh: Gently brush with a dry, small brush to dislodge earwax. If needed, lightly dab with a cotton swab moistened with isopropyl alcohol.
- Cables and Exterior: Wipe with a soft, lint-free cloth slightly dampened with isopropyl alcohol.
Cleaning On-Ear and Over-Ear Headphones
- Ear Cushions: If removable, clean with a cloth dampened with soapy water. For non-removable cushions, a gentle wipe will suffice.
- Headband and Exterior: Use a cloth with isopropyl alcohol to wipe down surfaces.
- Grilles: Use a small brush or compressed air to remove debris from the grilles.
Cleaning Wireless Headphones
Wireless headphones often come with additional components like charging ports and buttons. Here’s how to approach them:
- Charging Ports: Use compressed air to dislodge any dust or debris.
- Buttons: Clean with a moistened cotton swab to ensure no moisture seeps into the electronics.
- Exterior: A gentle wipe with isopropyl alcohol maintains cleanliness without harming the material.
Tips for Maintaining Clean Headphones
Cleaning your headphones is not a one-time symphony but a continuous practice. Here are some tips to maintain their cleanliness:
- Regular Cleaning: Make it a habit to clean your headphones weekly to prevent buildup.
- Proper Storage: Store headphones in a case when not in use to protect them from dust and dirt.
- Mindful Use: Clean your ears regularly to minimize earwax transfer.
Common Mistakes to Avoid
Even the most seasoned audiophiles can falter. Here are a few missteps to steer clear of:
- Avoid Excessive Moisture: Never soak headphones in water or any liquid.
- Skip Harsh Chemicals: Strong cleaning agents can damage delicate components.
- Don’t Rush: Allow all parts to dry completely before reassembling and using.
Conclusion
The process of cleaning headphones from earwax is not merely a task but an art form, a delicate dance that ensures your audio equipment remains in perfect harmony. By understanding your headphones, using the right tools, and following a meticulous cleaning process, you sustain not only their longevity but also the quality of sound they deliver. In this symphony of care, each note, each beat, and each melody will resonate with the clarity and brilliance that the composers intended. Keep your headphones clean, and let the music play on, unblemished and divine.
Last Updated on September 13, 2025
