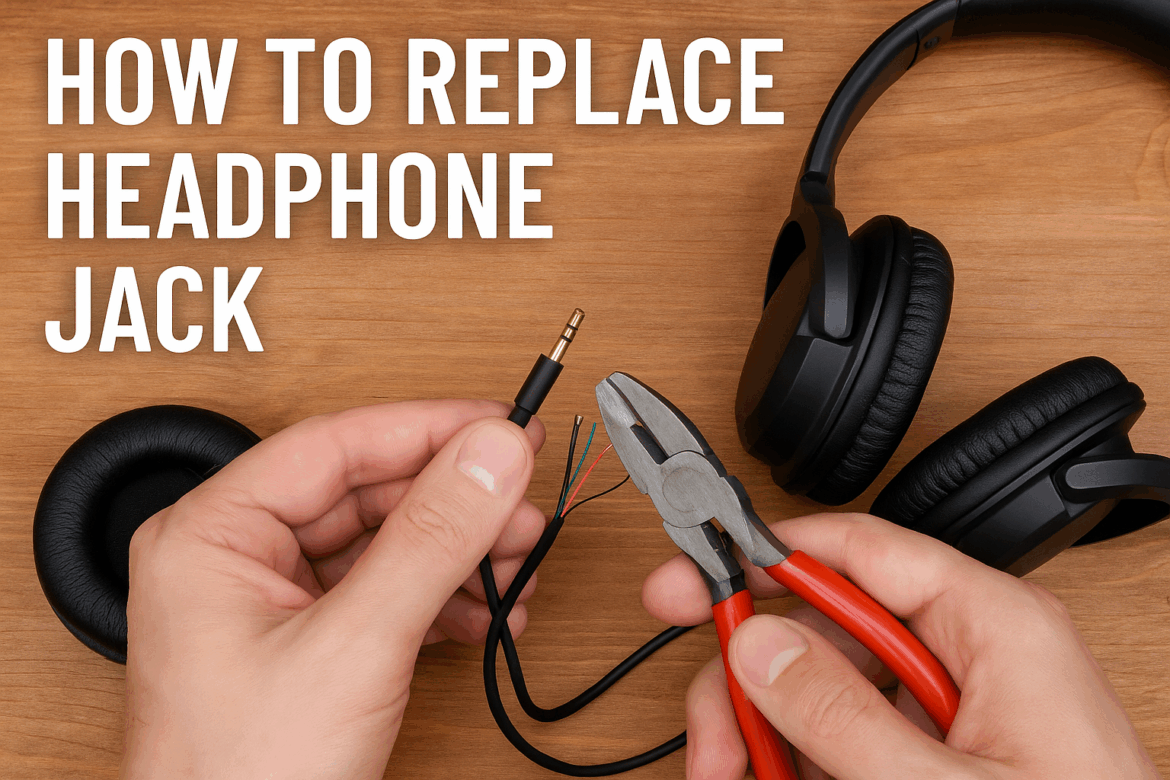
Як замінити роз'єм для навушників: вичерпний посібник
У сфері персонального аудіообладнання роз'єм для навушників вже давно є надійним супутником. Однак, як і з усім, знос може мати свої наслідки, і може настати час, коли цей скромний роз'єм потрібно буде замінити. Незалежно від того, чи ви аудіофіл зі схильністю до бездоганного звуку, чи просто той, хто бажає відновити свою улюблену пару навушників... навушники, навчитися замінювати роз'єм для навушників може бути корисним заняттям. Цей посібник крок за кроком проведе вас через цей процес, забезпечуючи, щоб ваша подорож була такою ж бездоганною, як і звук, який ви прагнете зберегти.
Розуміння роз'єму для навушників
Роз'єм для навушників, у своїй простоті, є дивом інженерної архітектури. Він діє як місток, передаючи звук від вашого пристрою до ваших вух. Зазвичай, 3,5-мм роз'єм є найпоширенішим, хоча існують варіації. Розуміння анатомії роз'єму є надзвичайно важливим, перш ніж розпочинати заміну. Три основні частини, з якими ви зіткнетеся, це наконечник, кільце та втулка (TRS). Кожна частина виконує певну функцію: наконечник призначений для лівого аудіоканалу, кільце – для правого каналу, а втулка – для заземлення.
Необхідні інструменти та матеріали
Щоб розпочати цю подорож, потрібна симфонія інструментів та матеріалів. Зберіть ці предмети, щоб забезпечити безперебійний процес:
- Замінний роз'єм для навушників: Виберіть високоякісний роз'єм, який відповідає характеристикам ваших навушників.
- Паяльник і припій: Необхідний для надійного з'єднання проводів.
- Інструменти для зняття ізоляції/різаки дроту: Для підготовки дротів.
- Мультиметр: Для перевірки з'єднань та забезпечення точності.
- Термоусадочна трубка: Для ізоляції та захисту з'єднань.
- Набір малих викруток: У разі потреби демонтажу.
- Ізоляційна стрічка: Як додатковий шар утеплення.
Підготовка до заміни
Перш ніж поринути в процес заміни, приділіть хвилинку підготовці. Подібно до диригента, який готує сцену для симфонічного оркестру, це забезпечить безперебійний процес.
- Створіть робочий простір: Знайдіть чисте, добре освітлене місце для роботи. Переконайтеся, що у вас достатньо місця для розміщення інструментів та матеріалів.
- Безпека понад усе: Одягайте захисні окуляри, щоб захиститися від розсіяного припою або фрагментів дроту. Також переконайтеся, що паяльник розміщено на термостійкій поверхні, коли він не використовується.
- Перевірте навушники: Перш ніж замінювати роз'єм, переконайтеся, що проблема справді пов'язана з роз'ємом, а не з іншим компонентом навушників.
Розбирання роз'єму для навушників
Коли ваше робоче місце та інструменти готові, настав час розпочати розбирання.
- Виріжте старого Джека: За допомогою кусачок обережно відріжте пошкоджений роз'єм. Залиште достатню довжину кабелю для роботи.
- Зачистіть дроти: Обережно зніміть зовнішню ізоляцію, щоб відкрити окремі дроти. Зазвичай ви знайдете три дроти, що відповідають секціям TRS.
- Розділіть та зачистіть дроти: Зніміть невелику ділянку ізоляції з кожного дроту, щоб оголити мідні жили під ними.
Підключення нового роз'єму для навушників
Тепер, коли старий домкрат зняли, настав час встановити новий.
- Протягніть кабель: Просуньте кабель через термоусадочну трубку та корпус нового роз'єму. Це переконається, що все на місці перед паянням.
- Підготуйте паяльник: Дайте паяльнику нагрітися. Чисте жало забезпечить точнішу роботу.
- Припаяйте дроти: Обережно припаяйте дроти до відповідних секцій нового роз'єму: лівий аудіопровід до наконечника, правий аудіопровід до кільця, а провід заземлення до втулки. Використовуйте мультиметр, щоб перевірити правильність з'єднань.
- Ізолюйте з'єднання: Насуньте термоусадочну трубку на паяні з'єднання та нагрійте її для усадки. Це забезпечить ізоляцію та захист.
Збірка та тестування
З новим домкратом на місці, настав час зібрати його та перевірити свою роботу.
- Зберіть домкрат: Закріпіть корпус нового домкрата, переконавшись, що всі компоненти щільно закріплені та надійно закріплені.
- Перевірте з'єднання: Підключіть навушники до пристрою та відтворіть аудіо. Прослухайте чіткість та баланс в обох каналах.
- Усунення несправностей за потреби: Якщо проблеми не зникають, перевірте пайку ще раз і переконайтеся, що всі з'єднання надійні.
Таблиця: Виправлення неполадок
| Проблема | Можлива причина | Рішення |
|---|---|---|
| Без звуку | Неправильне паяльне з'єднання | Перепаяйте з'єднання та забезпечте правильне вирівнювання |
| Звук лише в одному вусі | Неправильне підключення | Перевірте та виправте послідовність підключення |
| Спотворений звук | Погана ізоляція або пайка | Забезпечте чисту пайку та належну ізоляцію |
| Періодичне підключення | Нещільне з'єднання або пошкоджений дріт | Перевірте наявність нещільних з'єднань та замініть їх за потреби |
Висновок: Подорож до первозданного звуку
Заміна роз'єму для навушників схожа на відновлення улюбленої симфонії. Це вимагає терпіння, точності та трохи технічної майстерності. Однак винагорода — відновлений зв'язок з улюбленою музикою — варта зусиль. Вирушаючи в цю подорож, пам'ятайте, що кожен крок наближає вас до гармонійного вирішення. Якщо виникнуть труднощі, зверніться до цього посібника та покладіться на свою здатність їх подолати. Ваші улюблені мелодії чекають на вас, готові звучати так само чітко та яскраво, як і завжди.
У сфері аудіообладнання, де звук панує понад усе, оволодіння мистецтвом заміни роз'єму для навушників – це навичка, яка вам добре послужить. Нехай цей посібник буде вашим провідником, що веде вас до крещендо успіху. Музика чекає на вас, а разом з нею й радість відновленого звуку.
Останнє оновлення: 11 вересня 2025 р
