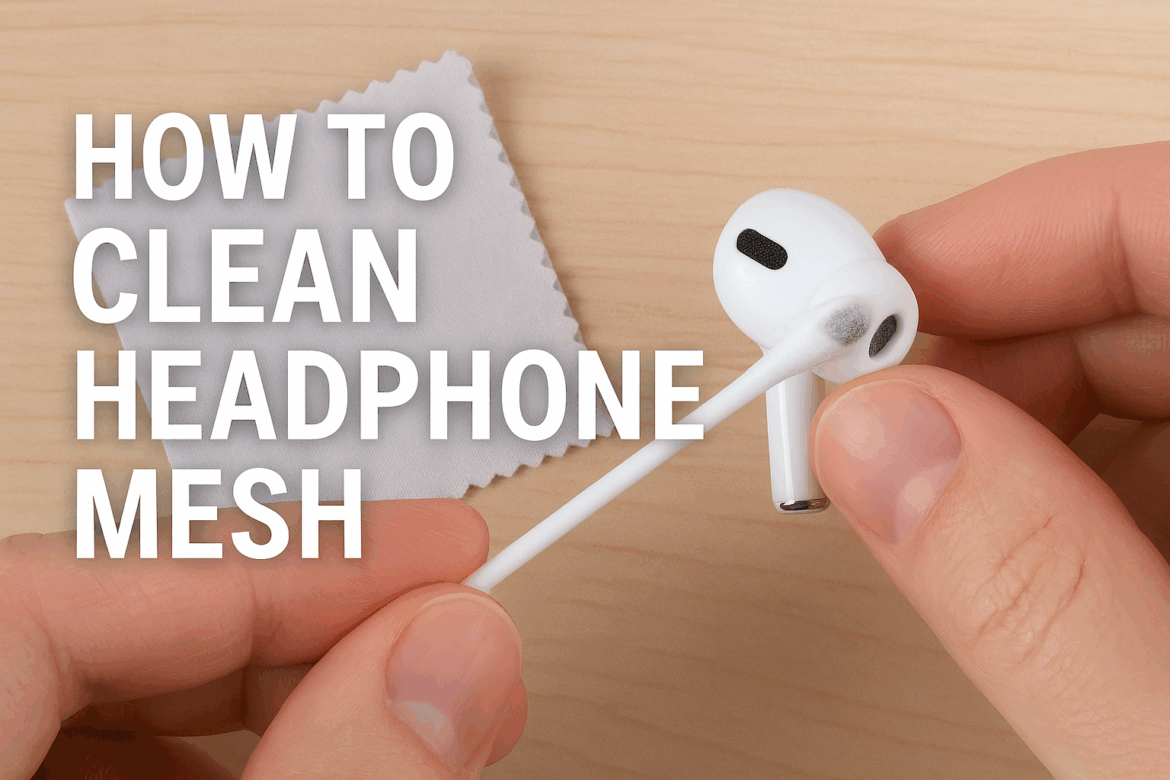
Kulaklık Mesh'i Nasıl Temizlenir: Kusursuz Ses İçin Bir Kılavuz
Kulaklıklar Kulaklıklar sadece birer aletten ibaret değil; sürükleyici ses manzaralarına açılan bir kapı, yalnızlığın bir arkadaşı ve hayatın ritimlerinin bir kanalı. Ancak, hoparlörleri kaplayan ve genellikle göz ardı edilen karmaşık ağ, kusursuz ses sunmada kritik bir rol oynar. Zamanla, bu ağda toz, kulak kiri ve kalıntılar birikerek ses kalitesini ve hijyeni azaltabilir. Kulaklık ağını temizlemek, optimum performansı korumak ve sevdiğiniz ses arkadaşınızın ömrünü uzatmak için çok önemlidir. Bu kılavuz, işitsel deneyimlerinizin sanatçının amaçladığı kadar canlı kalmasını sağlamak için kulaklık ağını hassas bir şekilde temizleme sürecini size gösterecektir.
Kulaklık Ağını Anlama
Temizleme işlemine başlamadan önce, kulaklık filesi (ağ) işlevini anlamak önemlidir. File, hassas iç bileşenleri kalıntılardan koruyan ve ses dalgalarının serbestçe hareket etmesini sağlayan koruyucu bir bariyer görevi görür. Tıkalı veya kirli bir file, sesi boğabilir ve ses netliğini azaltarak daha az tatmin edici bir dinleme deneyimine yol açabilir. Fileyi düzenli olarak temizleyerek, kulaklığınızın beklediğiniz yüksek kaliteli sesi sunmaya devam etmesini sağlayabilirsiniz.
Kulaklık Mesh'ini Temizlemek İçin Gerekli Araçlar
Bu temizlik yolculuğuna başlamak için birkaç temel araca ihtiyacınız olacak. Her araç, o kristal berraklığındaki sesi elde etmede benzersiz bir amaca hizmet eder:
- Yumuşak Kıllı Fırça: Ağa zarar vermeden gevşek kalıntıları nazikçe çıkarmak için idealdir.
- Mikrofiber Bez: Ağ yüzeyindeki lekeleri ve kalıntıları silmek için kullanışlıdır.
- İzopropil Alkol (70% veya üzeri):Hızla buharlaşarak nem kalmamasını sağlayan etkili bir temizlik maddesidir.
- Pamuklu Çubuklar: Dar alanlara ve köşelere ulaşmak için mükemmeldir.
- Basınçlı Hava Tüpü: İnatçı parçacıkların yerinden sökülmesine ve havaya uçurulmasında yardımcı olur.
Kulaklık Mesh'ini Temizlemeye Yönelik Adım Adım Kılavuz
Hazırlık: Sahneyi Hazırlama
Başlamadan önce, kulaklığınızın kapalı ve tüm cihazlarla bağlantısının kesilmiş olduğundan emin olun. Herhangi bir kazara hasarı önlemek için kulaklığınızı temiz ve düz bir yüzeye koyun. Bu hazırlık aşaması, titiz bir temizlik sürecinin temelini oluşturur.
Adım 1: Yumuşak Kıllı Bir Fırça ile İlk Toz Alma
Kulaklık süzgecini yumuşak kıllı bir fırça ile nazikçe fırçalayarak başlayın. Bu adım, yüzeydeki kalıntıların gevşemesi ve temizlenmesi için çok önemlidir. Süzgeci hasara uğratabilecek aşırı baskı uygulamaktan kaçınmak için nazik ve dairesel hareketlerle çalışın.
Adım 2: Basınçlı Hava Kullanımı
Ardından, kalan parçacıkları temizlemek için basınçlı hava tüpü kullanın. Tüpü hafif bir açıyla tutun ve tüpten gelen nemin ağa sıçramasını önlemek için makul bir mesafede durun. Bu adım, özellikle ağın derinliklerine yerleşmiş parçacıkları temizlemek için faydalıdır.
Adım 3: İzopropil Alkol ile Temizleme
Mikrofiber bir bezi izopropil alkolle nemlendirin ve süzgeci nazikçe silin. Alkol, yağları ve kiri kalıntı bırakmadan çözer. Nemin kulaklığa sızmasını önlemek için bezi ıslatmaktan kaçının.
4. Adım: Pamuklu Çubuklarla Detaylandırma
Hassas temizlik için, izopropil alkolle hafifçe nemlendirilmiş pamuklu çubuklar kullanın. Ağın kenarlarını ve köşelerini dikkatlice temizleyin, özellikle birikmeye daha yatkın bölgelere odaklanın. Bu adım, bezin gözden kaçırabileceği noktalara ulaşarak kapsamlı bir temizlik sağlar.
Adım 5: Son Rötuşlar
Temizledikten sonra, kullanmadan önce kulaklığınızı tamamen kurumaya bırakın. Bu, kalan nemin buharlaşmasını ve dahili bileşenlerin korunmasını sağlar. Kuruduktan sonra, kulaklığınız sabah senfonisi kadar net ve canlı bir ses sunmaya hazırdır.
Kaçınılması Gereken Yaygın Hatalar
Kulaklık ağını temizlemek basit bir işlem olsa da, dikkat edilmesi gereken yaygın tuzaklar vardır:
- Sıvılarla Aşırı Doygunluk: Aşırı nem kulaklığınıza zarar verebilir, bu nedenle her zaman ıslatılmış değil, nemli temizlik araçları kullanın.
- Çok Fazla Baskı Uygulamak: File hassas bir yapıya sahiptir; yırtılma veya eziklerin önlenmesinde nazik hareketler önemlidir.
- Sert Kimyasalların Kullanımı: Örgü malzemesinin kimyasal olarak hasar görmesini önlemek için izopropil alkol kullanın.
Temizlik Sıklığı
Temizleme sıklığı kullanıma ve ortama bağlıdır. Düzenli kullanıcılar için aylık temizlik rutini önerilir. Ancak, kulaklıkları tozlu veya nemli ortamlarda sık sık kullanıyorsanız, ses bütünlüğünü korumak için daha sık temizlemeyi düşünebilirsiniz.
Sorun Giderme: Temizlik Yeterli Olmadığında
Temizlikten sonra ses kalitesi hala düşükse, sorun ağdan daha derinlerde olabilir. Bu, iç hasar veya aşınma belirtisi olabilir. Bu gibi durumlarda, bir uzmana danışmak veya değiştirmeyi düşünmek gerekebilir.
Sonuç: Ses Senfonisi
Kulaklık telini temizlemek, bir enstrümanı akort etmeye benzer; sesin saflığını korumak ve her notanın net bir şekilde iletilmesini sağlamakla ilgilidir. Bu temizlik uygulamalarını rutininize dahil ederek, yalnızca kulaklığınızın ömrünü uzatmakla kalmaz, aynı zamanda işitsel deneyimlerinizi de geliştirirsiniz. Ses senfonisi, bestecilerinin amaçladığı gibi, engelsiz ve kusursuz bir şekilde çalmaya devam etsin.
Tablo: Araçların ve Adımların Özeti
| Alet | Amaç |
|---|---|
| Yumuşak Kıllı Fırça | Yüzeydeki kalıntıları temizler |
| Mikrofiber Bez | Lekeleri ve kalıntıları temizler |
| İzopropil Alkol | Yağları ve kiri temizler |
| Pamuklu Çubuklar | Dar alanlara ve köşelere ulaşır |
| Basınçlı Hava Tüpü | İnatçı parçacıkları yerinden oynatır ve uzaklaştırır |
| Adım | Aksiyon |
|---|---|
| Hazırlık | Kulaklıkların kapalı ve düz bir yüzeyde olduğundan emin olun |
| İlk Toz Alma | Yüzeydeki kalıntıları temizlemek için fırça ağını nazikçe fırçalayın |
| Basınçlı Hava Kullanımı | Kalan parçacıkları üfleyin |
| Alkol ile Temizlik | Mesh'i alkolle nemlendirilmiş bir bezle silin |
| Detaylandırma | Kenarları nemli pamuklu çubuklarla temizleyin |
| Son Rötuşlar | Kulaklıkların tamamen kurumasını bekleyin |
Bu adımları takip ettiğinizde, kulaklığınız işitsel maceralarınızda güvenilir bir ortak olmaya devam edecek ve hassasiyet ve netlikle yankılanan ses manzaraları sunacaktır.
Son Güncelleme: 13 Eylül 2025
