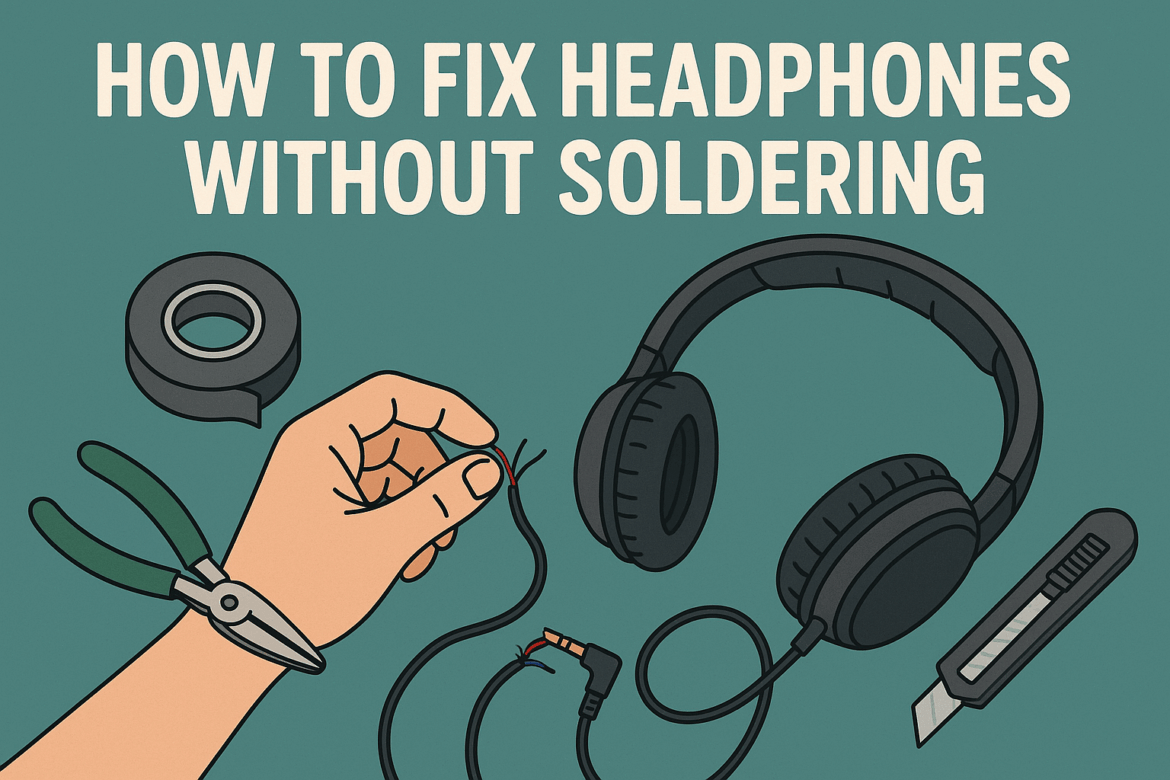
Jak naprawić Słuchawki Bez lutowania?
Poruszanie się po świecie audio często przypomina wielką symfonię, gdzie każda nuta i wysokość dźwięku rezonują z obietnicą niezrównanych doznań słuchowych. Jednak gdy nasze ukochane słuchawki zabrzmią dysonansowo, może to być niczym nieoczekiwane crescendo w skądinąd spokojnej melodii. Nie martw się, istnieją sposoby na przywrócenie harmonii bez najmniejszego śladu lutu. Przyjrzyjmy się temu harmonijnemu przedsięwzięciu, odkrywając narzędzia i techniki, które pomogą Ci naprawić słuchawki bez lutowania, zapewniając niezakłóconą podróż słuchową.
Zrozumienie typowych problemów
Zanim rozpoczniesz naprawę słuchawek, koniecznie zapoznaj się z typowymi problemami, które dotykają te urządzenia. Od zaniku dźwięku w jednym uchu po problemy z gniazdem słuchawkowym – każdy problem ma swoją własną, charakterystyczną symptomatologię. Oto krótki przegląd typowych problemów ze słuchawkami:
| Typowe problemy | Opis |
|---|---|
| Dźwięk w jednym uchu | Często przyczyną jest luźny przewód lub połączenie wewnątrz słuchawek. |
| Złamany Jack | Wtyczka słuchawek jest uszkodzona lub wygięta, co powoduje problemy z łącznością. |
| Statyczne lub trzaskające | Zwykle jest to spowodowane brudem i zanieczyszczeniami w gnieździe słuchawkowym lub uszkodzeniem wewnętrznego przewodu. |
| Luźna opaska na głowę | Opaska na głowę luzuje się lub odkleja, co wpływa negatywnie na komfort i dopasowanie. |
Narzędzia, których będziesz potrzebować
Rozpoczęcie misji naprawczej bez lutowania wymaga precyzyjnego doboru narzędzi. Niczym batuta dyrygenta prowadząca orkiestrę, odpowiednie narzędzia doprowadzą Cię do sukcesu. Oto lista, która pomoże Ci skompletować zestaw narzędzi naprawczych:
- Multimetr:Niezbędne do sprawdzenia ciągłości przewodów.
- Śrubokręty:Zestaw o różnych rozmiarach umożliwiający otwarcie słuchawek.
- Pinceta:Przydatne przy obchodzeniu się z małymi przewodami i elementami.
- Taśma izolacyjna:Do zabezpieczania przewodów i zapewniania izolacji.
- Ściągacze izolacji:Przydatne do odsłonięcia przewodu znajdującego się pod izolacją.
- Części zamienne: W razie potrzeby takie gniazda słuchawkowe lub nauszniki.
Naprawa dźwięku w jednym uchu
Symfonia dźwięku przepływająca przez oba uszy zostaje nagle zakłócona, gdy dźwięk dochodzi tylko z jednej strony. Często przyczyną jest luźny przewód lub połączenie w samych słuchawkach. Oto jak temu zaradzić bez lutowania:
-
Sprawdź przewód: Delikatnie zginaj przewód w pobliżu gniazda słuchawkowego i nausznika podczas odtwarzania dźwięku. Jeśli dźwięk powraca sporadycznie, oznacza to, że zidentyfikowałeś problematyczny obszar.
-
Otwórz nausznik: Używając odpowiedniego śrubokręta, ostrożnie otwórz nausznik, z którego nie słychać dźwięku. Sprawdź, czy przewody nie są luźne lub odłączone.
-
Sprawdź ciągłość: Użyj multimetru, aby sprawdzić ciągłość przewodu od gniazda słuchawkowego do głośników. Pomoże to zidentyfikować ewentualne przerwy w przewodzie.
-
Zabezpiecz luźne przewodyJeśli znajdziesz luźny przewód, zabezpiecz go taśmą izolacyjną. Upewnij się, że jest dobrze dopasowany, aby uniknąć rozłączeń w przyszłości.
Naprawa uszkodzonego gniazda słuchawkowego
Gniazdo słuchawkowe, niewielki, ale kluczowy element, często ulega zniszczeniu w wyniku codziennego użytkowania. Zepsute gniazdo może zakłócić cały odbiór dźwięku, ale bez obaw, wymiana jest w zasięgu ręki:
-
Przetnij i zdejmij izolację z przewodu:Za pomocą ściągacza izolacji usuń izolację z przewodu słuchawkowego w pobliżu uszkodzonego gniazda.
-
Zidentyfikuj przewody: Zazwyczaj przewody słuchawkowe składają się z przewodu uziemiającego i dwóch przewodów sygnałowych (lewego i prawego kanału audio). Każdy przewód należy oznaczyć kolorem lub oznaczeniem.
-
Podłącz nowy podnośnik: Kup nowe gniazdo słuchawkowe w sklepie elektronicznym. Włóż odsłonięte przewody do odpowiednich zacisków nowego gniazda.
-
Zabezpiecz taśmą izolacyjną:Po przymocowaniu użyj taśmy izolacyjnej, aby zabezpieczyć połączenie i zapewnić izolację.
Eliminacja dźwięków statycznych i trzasków
Szumy lub trzaski mogą zakłócać spokojną symfonię muzyki. Zakłócenia te często wynikają z zabrudzonych lub wadliwych połączeń:
-
Wyczyść podnośnik:Użyj małej szczotki lub sprężonego powietrza, aby usunąć kurz i zanieczyszczenia z gniazda słuchawkowego.
-
Sprawdź połączenia:Otwórz nauszniki i sprawdź, czy wewnętrzne połączenia nie są uszkodzone lub luźne.
-
Zabezpiecz ponownie połączenia: Dokręć luźne połączenia za pomocą pęsety i w razie potrzeby zabezpiecz taśmą izolacyjną.
Jak poradzić sobie z luźnym pałąkiem na głowę
Luźny pałąk może zakłócić komfort słuchania muzyki. Choć może nie wpływać na jakość dźwięku, może mieć wpływ na ogólne wrażenia:
-
Dokręć śruby: Sprawdź, czy w zespole opaski nie ma luźnych śrub i dokręć je za pomocą odpowiedniego śrubokręta.
-
Wymień wypełnienie:Jeśli wyściółka pałąka jest zużyta, rozważ jej wymianę na nową, aby zwiększyć komfort noszenia.
-
Zabezpiecz za pomocą gumek:Jeśli opaska pozostaje luźna, gumki mogą zapewnić tymczasowe wzmocnienie.
Wnioski
W wielkiej symfonii życia słuchawki odgrywają kluczową rolę, stanowiąc ścieżkę dźwiękową dla naszych codziennych przygód. Z odpowiednimi narzędziami i odrobiną finezji możesz przywrócić harmonię dźwięku bez konieczności lutowania. Niezależnie od tego, czy rozwiązujesz problemy z dźwiękiem, czy naprawiasz zepsute gniazdo, te rozwiązania sprawią, że Twoje słuchawki pozostaną wiernym towarzyszem w Twojej melodyjnej podróży. Odkryj sztukę naprawy słuchawek i pozwól muzyce grać dalej, nieprzerwanie i w pełnej krasie.
Ostatnia aktualizacja: wrzesień 19, 2025
