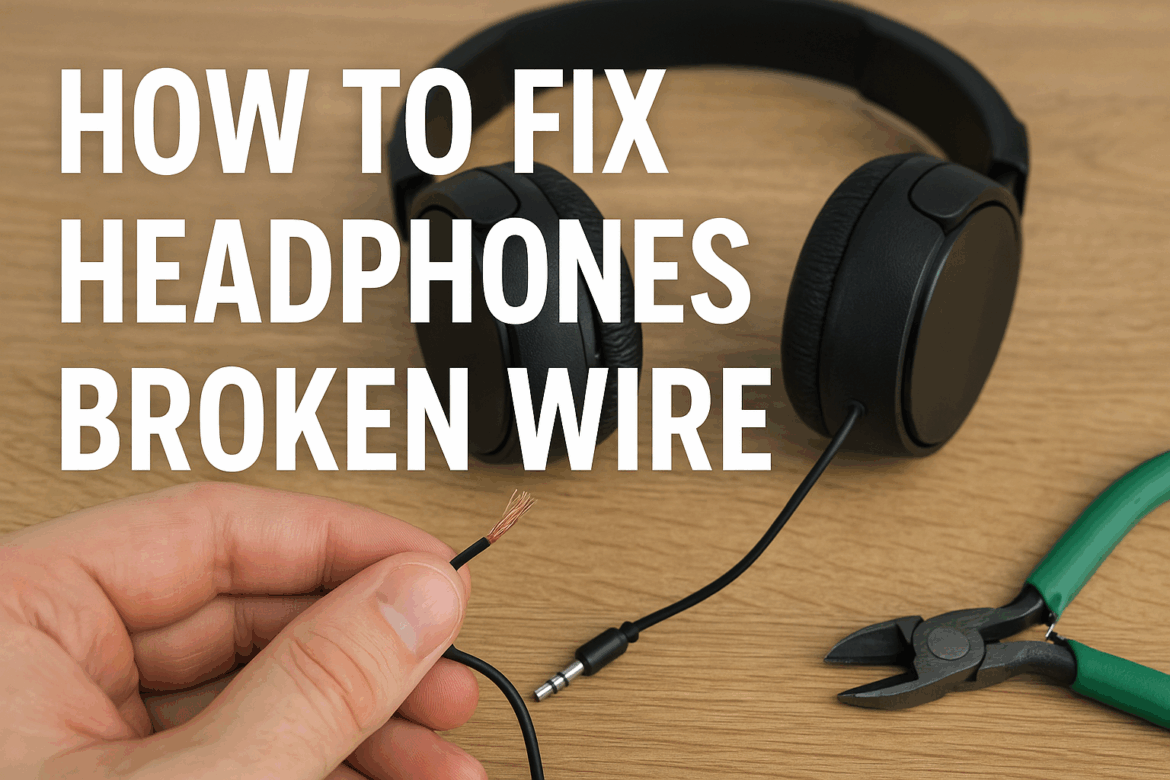
Jak naprawić Słuchawki’'Zerwany przewód
Słuchawki to coś więcej niż gadżet; to nasze osobiste wrota do muzyki, podcastów i immersyjnego świata dźwięków. Nic jednak nie przerywa tej audio-błogości tak jak zerwany kabel. Niezależnie od tego, czy jest to wynik splątania w plecaku, czy niefortunnego szarpnięcia, zerwany kabel słuchawek może być frustrujący. Ale bez obaw, z odrobiną cierpliwości i odpowiednimi narzędziami możesz naprawić zerwany kabel i wrócić do słuchania muzyki. Wyruszmy w tę podróż naprawy, gdzie wiedza techniczna spotyka się z nutą ducha majsterkowania.
Zrozumienie problemu
Zanim zagłębisz się w proces naprawy, konieczne jest zrozumienie problemu. Słuchawki mogą mieć zerwane przewody z powodu wielokrotnego zginania, ciągnięcia, a nawet przypadkowego przecięcia. Problemy te często objawiają się okresowymi zanikami dźwięku, dźwiękiem dochodzącym tylko z jednej strony lub całkowitą ciszą. Rozpoznanie tych objawów może pomóc w dokładnym zdiagnozowaniu problemu.
Narzędzia i materiały, których będziesz potrzebować
Rozpoczęcie przygody z naprawą słuchawek wymaga kilku niezbędnych narzędzi. Chociaż nie potrzebujesz zaawansowanego technologicznie laboratorium, posiadanie odpowiedniego sprzętu może usprawnić i usprawnić cały proces. Oto krótka lista kontrolna do Twojego zestawu narzędzi naprawczych:
| Narzędzie/Materiał | Zamiar |
|---|---|
| Lutownica | Aby bezpiecznie ponownie przymocować przewody |
| Drut lutowniczy | Do podłączenia przewodów |
| Ściągacze izolacji | Aby zdjąć izolację bez uszkadzania przewodu |
| Multimetr | Aby sprawdzić ciągłość przewodów |
| Taśma izolacyjna | Do izolacji i ochrony naprawianego przewodu |
| Rurki termokurczliwe | Do pokrycia i wzmocnienia obszaru naprawy |
| Mały śrubokręt | Aby w razie potrzeby otworzyć obudowy słuchawek |
Instrukcja krok po kroku naprawy uszkodzonego przewodu słuchawkowego
Identyfikacja przerwy
Pierwszym zadaniem jest zlokalizowanie miejsca uszkodzenia przewodu. Zacznij od delikatnego zginania przewodu wzdłuż jego długości, nasłuchując przerw w dźwięku. Jeśli dźwięk pojawia się i znika, prawdopodobnie znalazłeś słaby punkt. Czasami uszkodzenie jest widoczne gołym okiem, z odsłoniętymi wewnętrznymi przewodami. Zdarzają się jednak przypadki, gdy uszkodzenie jest ukryte pod izolacją, co wymaga nieco więcej pracy detektywistycznej.
Cięcie i zdejmowanie izolacji z przewodów
Po zlokalizowaniu pęknięcia, przetnij przewód w tym miejscu. Pierwsze cięcie może wydawać się nieco stresujące, ale uwierz mi, to konieczny krok. Po przecięciu, za pomocą szczypiec do zdejmowania izolacji, usuń około pół cala izolacji z obu końców przewodu. Zachowaj ostrożność, aby nie uszkodzić miedzianych przewodów w środku, ponieważ są one delikatne.
Lutowanie przewodów
Teraz nadchodzi moment, który przypomina scenę z filmu science fiction – lutowanie. Skręć ze sobą odpowiednie przewody z obu stron nacięcia. Jeśli przewód słuchawek składa się z kilku żył (zazwyczaj czerwonej, zielonej i miedzianej), upewnij się, że są one prawidłowo połączone. Rozgrzej lutownicę i nałóż niewielką ilość lutu na skręcone przewody, solidnie je łącząc. Pewna ręka i spokojny umysł to Twoi najlepsi sprzymierzeńcy.
Testowanie połączenia
Po przylutowaniu przewodów czas sprawdzić swoje dzieło. Użyj multimetru, aby sprawdzić ciągłość połączenia. Jeśli multimetr zapiszczy, masz zwycięzcę – ciągłą ścieżkę, którą mogą przemieszczać się sygnały elektryczne. Jeśli nie, nie trać nadziei. Sprawdź ponownie lutowanie pod kątem zimnych połączeń lub luźnych połączeń.
Izolowanie i wzmacnianie
Po sprawdzeniu połączenia, kluczowe jest zaizolowanie miejsca pracy, aby zapobiec zwarciom. Owiń lutowany obszar taśmą izolacyjną, upewniając się, że metal nie jest odsłonięty. Dla dodatkowej ochrony i schludniejszego wyglądu, nasuń kawałek rurki termokurczliwej na naprawiony obszar i delikatnie podgrzej ją suszarką do włosów lub zapalniczką, aby ją obkurczyć.
Typowe błędy i jak ich unikać
Nawet najlepsi z nas popełniają błędy. Oto kilka typowych pułapek podczas naprawy przewodów słuchawkowych i jak ich uniknąć:
-
Przegrzanie przewodu: Zbyt wysoka temperatura może uszkodzić delikatne przewody wewnętrzne. Aby uniknąć tego problemu, należy delikatnie dotknąć lutownicą.
-
Zimne luty: Występują one, gdy lut nie topi się prawidłowo, co prowadzi do osłabienia połączenia. Upewnij się, że lutownica jest odpowiednio rozgrzana i nakładaj lut bezpośrednio na złącze.
-
Nieprawidłowe dopasowanie przewodów: Pomylenie przewodów może prowadzić do problemów z dźwiękiem. Zawsze dokładnie sprawdź kodowanie kolorów przewodów przed lutowaniem.
Kiedy wezwać profesjonalistów
Chociaż samodzielne naprawy mogą być satysfakcjonujące, zdarzają się sytuacje, gdy najlepiej wezwać ekspertów. Jeśli Twoje słuchawki są wyjątkowo drogie lub okablowanie jest wyjątkowo skomplikowane, skorzystanie z profesjonalnej naprawy może być opłacalne. Dodatkowo, jeśli próbowałeś naprawić problem, ale nadal występuje, specjalista może zdiagnozować przyczynę i skuteczniej ją rozwiązać.
Radość z samodzielnej naprawy
Naprawa słuchawek to nie tylko przywrócenie dźwięku; to podróż pełna nauki i samodoskonalenia. Naprawa czegoś własnymi rękami daje wyjątkową satysfakcję, poczucie triumfu nad technologią. Co więcej, to ekologiczny wybór, który zmniejsza ilość odpadów elektronicznych i wydłuża żywotność urządzenia. Więc następnym razem, gdy Twoje słuchawki przestaną działać, pamiętaj – masz wiedzę i narzędzia, aby przywrócić im życie.
Wnioski
Naprawa uszkodzonego przewodu słuchawkowego może początkowo wydawać się zniechęcająca, ale z odpowiednim podejściem staje się zadaniem możliwym do wykonania. Zrozumienie problemu, zebranie niezbędnych narzędzi i przestrzeganie systematycznego procesu naprawy pozwoli Ci z powodzeniem przywrócić słuchawki do życia. Niezależnie od tego, czy jesteś doświadczonym entuzjastą technologii, czy po prostu słuchasz muzyki, ta naprawa to zarówno wyzwanie techniczne, jak i satysfakcjonujące doświadczenie. Zakasaj więc rękawy i zanurz się w świecie samodzielnej naprawy słuchawek. Twoje ulubione utwory są o krok od ponownego usłyszenia.
Ostatnia aktualizacja: wrzesień 10, 2025
