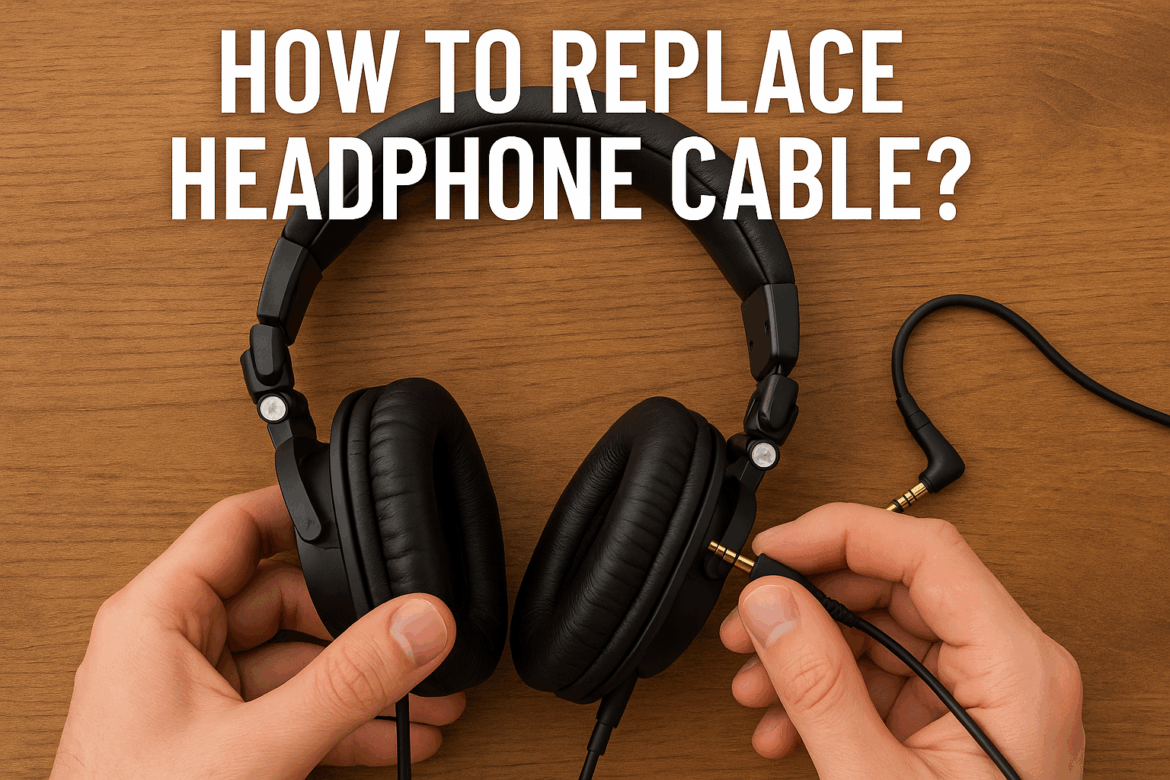
Bagaimana Cara Mengganti Kabel Headphone?
Di bidang audio pribadi, headphone Headphone adalah teman setia, saluran intim menuju lanskap suara favorit kita. Namun, seperti semua perangkat mekanis, headphone rentan terhadap keausan. Masalah umum yang sering terjadi adalah kabel headphone yang rusak atau aus, yang dapat merusak kemurnian suara dan mengganggu pengalaman mendengarkan Anda. Mengganti kabel headphone mungkin tampak menakutkan, tetapi dengan panduan yang tepat, ini bisa menjadi upaya yang bermanfaat. Artikel ini akan memandu Anda melalui serangkaian langkah yang diperlukan untuk mengganti kabel headphone, mengubah potensi masalah menjadi solusi yang harmonis.
Memahami Anatomi Headphone
Sebelum memulai proses penggantian kabel, penting untuk memahami anatomi headphone Anda. Headphone biasanya terdiri dari ikat kepala, ear cup, driver, dan kabel. Kabel, yang sering terabaikan, merupakan jalur penting yang mengirimkan sinyal audio dari perangkat Anda ke driver di ear cup. Namun, komponen vital ini rentan rusak karena sering ditekuk, dipelintir, dan ditarik.
Mengidentifikasi Masalah
Langkah pertama dalam simfoni solusi kami adalah mengidentifikasi masalahnya. Apakah suara terputus-putus? Apakah ada suara berderak? Mungkin salah satu sisi headphone tidak bersuara. Gejala-gejala ini sering kali menunjukkan kabel yang rusak. Untuk memastikannya, uji headphone dengan perangkat lain atau coba kabel yang berbeda jika headphone Anda memiliki opsi yang dapat dilepas.
Alat dan Bahan yang Dibutuhkan
Untuk mengganti kabel headphone, Anda memerlukan beberapa alat dan bahan. Berikut tabel kebutuhan dasarnya:
| Alat/Bahan | Tujuan |
|---|---|
| Besi Solder | Untuk memasang kabel baru ke driver headphone |
| Pateri | Untuk membuat sambungan listrik yang aman |
| Pengupas Kawat | Untuk melepaskan isolasi dari kabel |
| Kabel Pengganti | Kabel baru akan dipasang |
| Obeng | Untuk membuka penutup telinga, jika perlu |
| Alat ukur multimeter | Untuk menguji kontinuitas koneksi |
| Tabung Penyusut Panas | Untuk mengisolasi dan melindungi sambungan yang disolder |
Alat-alat ini membentuk orkestra yang akan bermain secara harmonis untuk mengembalikan headphone Anda ke kejayaannya semula.
Memilih Kabel Pengganti yang Tepat
Pemilihan kabel pengganti sangatlah penting. Pertimbangkan panjang, ketebalan, dan bahan kabel. Kabel yang lebih tebal mungkin lebih tahan lama, tetapi juga mungkin kurang fleksibel. Carilah kabel dengan insulasi yang dikepang atau diperkuat untuk daya tahan lebih. Selain itu, pastikan konektor pada kabel sesuai dengan yang ada di headphone Anda, baik itu 3,5 mm, 2,5 mm, atau jenis lainnya.
Panduan Langkah demi Langkah untuk Mengganti Kabel Headphone
1. Persiapan:
– Mulailah dengan menata ruang kerja Anda. Pastikan ruang kerja cukup terang dan bebas dari barang-barang yang berserakan. Letakkan semua peralatan dan bahan di tempat yang mudah dijangkau.
2. Pembongkaran:
– Lepaskan bantalan telinga dari ear cup dengan hati-hati. Proses ini mungkin memerlukan pembukaan atau pencungkilan perlahan, tergantung desain headphone Anda.
– Setelah bantalan telinga dilepas, cari sekrup yang menahan penutup telinga. Gunakan obeng yang sesuai untuk melepas sekrup ini dengan hati-hati.
3. Melepas Kabel Lama:
– Dengan penutup telinga terbuka, temukan titik di mana kabel lama terhubung ke driver. Gunakan solder untuk melelehkan solder dan lepaskan kabelnya. Perhatikan kabel mana yang terhubung ke setiap terminal; ini penting untuk menghubungkan kabel baru.
4. Mempersiapkan Kabel Baru:
– Gunakan pengupas kabel untuk mengupas sekitar setengah inci insulasi dari ujung kabel baru. Ini akan memperlihatkan kabel di dalamnya.
– Jika kabel baru memiliki beberapa kabel (biasanya merah, putih, dan ground), pastikan Anda mengetahui kabel mana yang sesuai dengan audio kiri, audio kanan, dan ground.
5. Menyolder Kabel Baru:
– Panaskan besi solder dan oleskan sedikit solder ke setiap terminal pada driver headphone.
– Hubungkan kabel yang sesuai dari kabel baru ke terminal, gunakan solder untuk mengamankannya. Gunakan multimeter untuk memeriksa kontinuitas koneksi, pastikan tidak ada hubungan pendek.
6. Mengisolasi Sambungan:
– Potong potongan kecil pipa susut panas dan selipkan di atas sambungan yang telah disolder. Gunakan sumber panas untuk menyusutkan pipa, memberikan insulasi dan perlindungan.
7. Perakitan kembali:
– Pasang kembali ear cup dengan hati-hati, pastikan semua kabel terpasang dengan benar dan tidak terjepit. Pasang kembali sekrup dan bantalan telinga.
8. Pengujian:
– Hubungkan headphone Anda ke sumber audio dan uji untuk memastikan kualitas suara pulih dan kedua sisi berfungsi dengan benar.
Kesalahan Umum yang Harus Dihindari
Seperti halnya pekerjaan teknis lainnya, ada beberapa kendala umum yang perlu diwaspadai. Hindari penggunaan panas berlebih pada solder, karena dapat merusak driver headphone. Pastikan tidak ada kabel yang terekspos, yang dapat menyebabkan korsleting dan kerusakan lebih lanjut. Terakhir, bersabarlah dan teliti; terburu-buru dapat menyebabkan kesalahan yang mungkin sulit diperbaiki.
Kesimpulan: Merangkul Harmoni Perbaikan
Mengganti kabel headphone lebih dari sekadar perbaikan; ini merupakan perwujudan harmoni dan presisi yang terkandung dalam musik itu sendiri. Dengan melakukan tugas ini, Anda menghembuskan kehidupan baru ke headphone kesayangan Anda, memastikan simfoni suara terus dimainkan. Saat Anda mendengarkan kejernihan dan resonansi lagu-lagu favorit Anda yang telah dipulihkan, Anda akan menyadari bahwa usaha itu tidak sia-sia.
Di dunia peralatan audio, ulasan Zarqaan mengingatkan kita bahwa setiap perbaikan adalah kesempatan untuk terlibat dalam seni suara secara lebih intim, untuk memahami tarian rumit antara teknologi dan seni. Jadi, jadikan panduan ini sebagai panduan Anda saat memulai perjalanan mengganti kabel headphone, dan semoga pengalaman mendengarkan Anda semakin diperkaya.
Terakhir Diperbarui pada 10 September 2025
