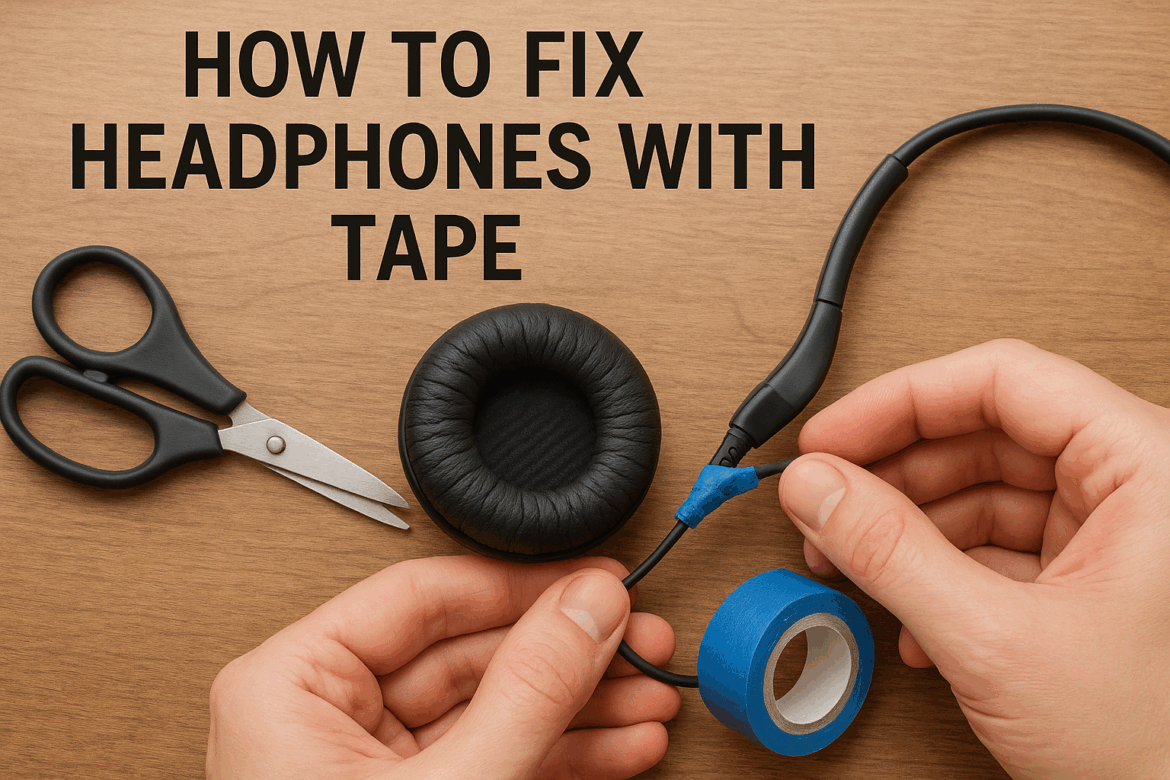
Cara Memperbaiki Headphone dengan Pita?
Headphone, teman setia yang menemani kita bekerja, bepergian, dan bersantai, terkadang bisa bermasalah. Entah itu kabel yang terkelupas atau bantalan telinga yang longgar, masalah kecil pada headphone bisa sangat umum. Namun, sebelum Anda terburu-buru ke toko elektronik terdekat atau mempertimbangkan untuk membuangnya, ada barang rumah tangga sederhana yang mungkin bisa menyelamatkan Anda: selotip. Ya, Anda tidak salah baca. Selotip bisa menjadi solusi yang efektif, meskipun sementara, untuk berbagai masalah headphone. Mari kita selami seni perbaikan headphone menggunakan selotip, dan temukan bagaimana barang sehari-hari ini dapat memperpanjang umur perangkat audio kesayangan Anda.
Memahami Komponen Headphone
Sebelum memulai perjalanan perbaikan, penting untuk memahami komponen dasar headphone Anda. Pengetahuan ini akan memandu Anda dalam mengidentifikasi di mana pita perekat dapat dipasang secara efektif.
- Ikat kepala: Lengkungan yang menghubungkan kedua ear cup. Sering kali dilengkapi bantalan untuk kenyamanan.
- Penutup Telinga: Bagian yang menampung speaker dan diletakkan di atas atau di dalam telinga Anda.
- Kabel: Kabel yang mengirimkan sinyal audio dari perangkat Anda ke headphone.
- Mendongkrak: Steker yang menghubungkan headphone ke perangkat audio Anda.
- Penggeser Penyesuaian: Memungkinkan Anda memasang headphone dengan pas di kepala Anda.
Masalah Umum Headphone dan Solusi Pita
Kabel yang Rusak atau Berjumbai
Salah satu masalah paling umum pada headphone adalah kabel yang terkelupas atau rusak. Hal ini dapat menyebabkan suara terputus-putus atau kehilangan audio sepenuhnya. Berikut cara penggunaan selotip:
-
Identifikasi KerusakanPeriksa kabel untuk menemukan titik kerusakan yang tepat. Cari kabel yang terbuka atau area di mana kabel terasa sangat tipis.
-
Pilih Pita yang TepatPita listrik ideal untuk perbaikan ini karena sifat insulasinya. Pita ini mencegah kerusakan lebih lanjut dan mengurangi risiko sengatan listrik.
-
Proses Perbaikan:
- Potong sepotong pita listrik, cukup panjang untuk melilitkan bagian yang rusak beberapa kali.
- Lilitkan selotip dengan hati-hati di sekeliling kabel, mulai sedikit sebelum area yang rusak dan memanjang sedikit melewatinya.
-
Tekan pita dengan kuat untuk memastikan pemasangan yang aman.
-
Tes: Sambungkan headphone Anda ke perangkat dan putar audio untuk memastikan perbaikan telah memulihkan kualitas suara.
Bantalan Telinga Longgar
Seiring waktu, bantalan telinga dapat longgar atau terlepas, sehingga mengurangi kenyamanan dan kualitas suara headphone Anda. Plester dapat menjadi solusi sementara hingga penggantinya tersedia.
-
Identifikasi Masalah: Periksa apakah bantalan telinga terlepas dari alurnya atau sudah terlepas sepenuhnya.
-
Aplikasi Pita:
- Gunakan selotip dua sisi yang tipis atau selotip perekat biasa.
- Untuk bantalan telinga yang sebagian longgar, tempelkan selotip di sepanjang tepi bantalan dan tekan kembali pada tempatnya.
-
Untuk bantalan yang terlepas sepenuhnya, tempelkan selotip di sekeliling seluruh lingkar bantalan sebelum menempelkannya kembali.
-
Aman Sesuai: Pastikan bantalan terpasang dengan kuat dan tidak bergeser saat digunakan.
Bantalan Ikat Kepala
Bantalan pada ikat kepala dapat aus atau terlepas, membuat headphone tidak nyaman dipakai.
-
Menilai Kerusakan: Tentukan apakah bantalannya robek atau terlepas begitu saja.
-
Aplikasi Pita:
- Gunakan pita perekat yang kuat untuk mengamankan bantalan yang longgar.
- Untuk bagian yang robek, lilitkan pita perekat mengelilingi ikat kepala untuk menahan bantalan pada tempatnya.
-
Jika bantalan memiliki penutup kain, berhati-hatilah agar tidak robek.
-
Pemeriksaan Kenyamanan: Kenakan headphone untuk memastikan bantalan yang diperbaiki terasa nyaman.
Tabel: Jenis-jenis Pita dan Kegunaannya dalam Perbaikan Headphone
| Jenis Pita | Kasus Penggunaan | Manfaat |
|---|---|---|
| Pita Listrik | Kabel yang terkelupas | Isolasi, fleksibel, tahan lama |
| Pita Perekat | Bantalan telinga longgar, perbaikan ikat kepala | Pegangan kuat, serbaguna |
| Pita Dua Sisi | Memasang kembali bantalan telinga | Memberikan perbaikan yang rapi dan bersih |
| Lakban | Perbaikan sementara pada ikat kepala | Kuat, mudah digunakan |
Tindakan Pencegahan dan Pertimbangan
- Solusi SementaraIngatlah bahwa perbaikan pita perekat bersifat sementara. Perbaikan ini dapat memperpanjang umur headphone Anda, tetapi bukan pengganti perbaikan atau penggantian profesional.
- Kualitas Pita: Investasikan pada selotip berkualitas baik untuk hasil yang lebih tahan lama. Selotip murahan mungkin tidak menempel dengan baik dan dapat meninggalkan residu lengket.
- Hindari Penggunaan Pita Perekat Berlebihan: Menggunakan terlalu banyak selotip dapat membuat headphone terasa tebal atau tidak nyaman. Oleskan selotip secukupnya untuk mengatasi masalah tersebut, jangan berlebihan.
Kapan Harus Mencari Bantuan Profesional
Meskipun selotip merupakan alat yang praktis untuk perbaikan kecil, beberapa masalah memerlukan intervensi profesional. Jika headphone Anda mengalami kerusakan internal, seperti driver yang putus atau sirkuit yang tidak berfungsi, sebaiknya konsultasikan dengan teknisi. Selain itu, jika headphone Anda masih dalam masa garansi, mencoba perbaikan sendiri dapat membatalkan garansi.
Kesimpulan
Memperbaiki headphone dengan selotip adalah metode sederhana namun efektif untuk mengatasi masalah umum. Dengan memahami komponen-komponen headphone Anda dan menggunakan jenis selotip yang tepat, Anda dapat memperpanjang masa pakainya dan menikmati pengalaman audio Anda lebih lama. Namun, selalu ingat bahwa perbaikan ini bersifat sementara dan harus ditindaklanjuti dengan solusi yang lebih permanen jika memungkinkan. Jadi, lain kali headphone Anda mulai bermasalah, gunakan selotip gulungan itu dan berikan mereka kesempatan untuk hidup kembali.
Terakhir Diperbarui pada 19 September 2025
