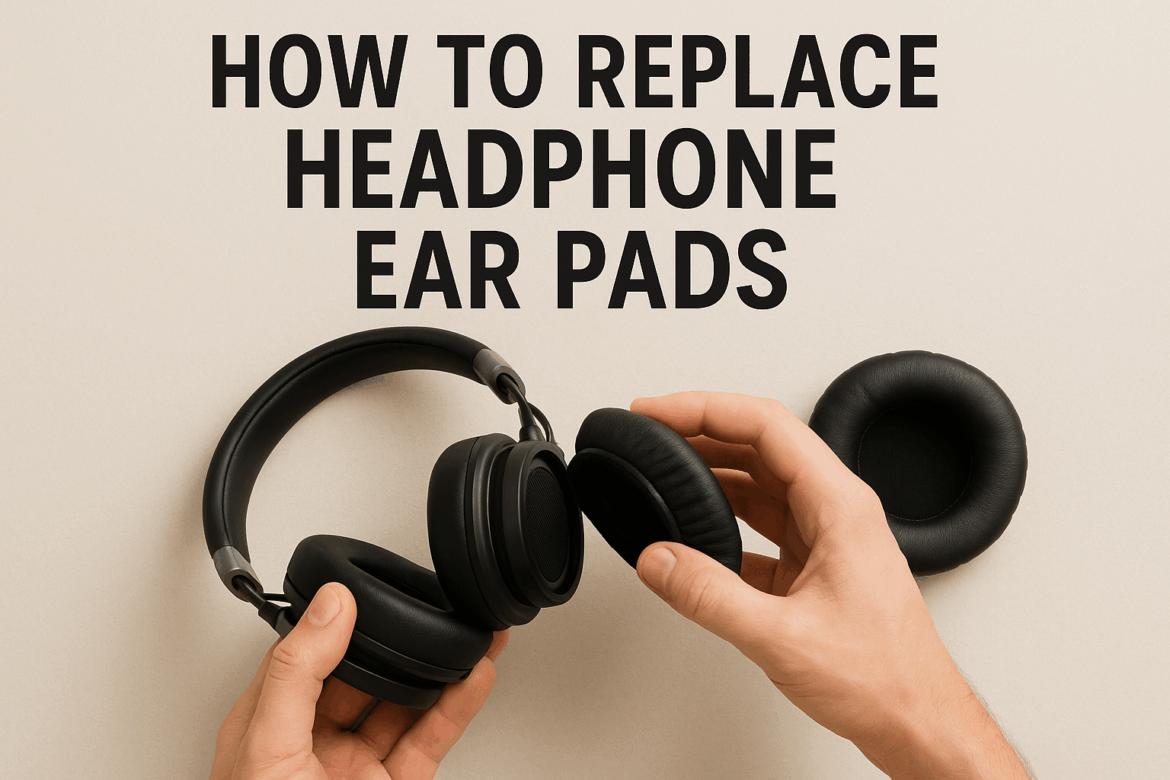
Cómo cambiar las almohadillas de los auriculares: guía paso a paso
El sonido de tu lista de reproducción favorita llena la habitación, cada ritmo y nota resuena con claridad. Tu auricularesCompañeros de confianza en innumerables viajes, se ajustan perfectamente a tus oídos. Pero entonces, notas que las almohadillas, que antes eran un suave acolchado para tus aventuras auditivas, están desgastadas. No te preocupes, cambiar las almohadillas de tus auriculares solo requiere un poco de paciencia y la guía adecuada. Esta guía te guiará en el proceso, desentrañando el misterio de esas almohadillas esenciales que dan vida a tu música.
Comprensión de las almohadillas para los auriculares
Las almohadillas para auriculares son más que simples mejoras de comodidad; desempeñan un papel fundamental en el aislamiento acústico y la calidad general del audio. Con el tiempo, el desgaste es inevitable, lo que reduce la comodidad y puede alterar la experiencia de sonido. Antes de profundizar en el proceso de reemplazo, analicemos la importancia de estas almohadillas.
La importancia de las almohadillas para los oídos
Las almohadillas cumplen varias funciones clave:
- Mejorar la comodidad:Los materiales suaves como la espuma viscoelástica o el terciopelo proporcionan amortiguación, lo que hace que las sesiones de escucha prolongadas sean agradables.
- Mejorar el aislamiento acústico:El sellado adecuado alrededor de los oídos garantiza una fuga mínima de sonido y bloquea el ruido externo.
- Calidad de sonido de impacto:El material y el grosor pueden afectar la respuesta de graves y el equilibrio tonal general.
Herramientas necesarias para reemplazar las almohadillas
Reemplazar las almohadillas es sencillo, pero contar con las herramientas adecuadas puede simplificar el proceso. Necesitará lo siguiente:
| Herramienta | Objetivo |
|---|---|
| Destornillador de punta plana pequeño | Para abrir con cuidado los clips o las costuras |
| Paño limpio | Para limpiar cualquier residuo o polvo |
| Alcohol para frotar | Para limpiar la superficie antes de colocar almohadillas nuevas |
| Almohadillas de repuesto para los oídos | Compatible con tu modelo de auriculares |
Guía paso a paso para reemplazar las almohadillas
Paso 1: Identifique el modelo de sus auriculares
Antes de comprar almohadillas de repuesto, es fundamental identificar el modelo de sus auriculares. Los fabricantes suelen diseñar almohadillas específicas para cada modelo, lo que garantiza un ajuste perfecto y un sonido óptimo. Consulte el manual de los auriculares o el sitio web del fabricante para obtener más información.
Paso 2: Compra almohadillas compatibles
Una vez identificado el modelo, puede comprar las almohadillas. Elija el material (cuero, terciopelo o espuma) según sus preferencias de comodidad y sonido. Asegúrese de que las almohadillas sean compatibles con su modelo específico de auriculares para evitar problemas de ajuste.
Paso 3: Retire las almohadillas viejas
-
Inspeccionar el método de fijaciónLa mayoría de las almohadillas están sujetas con clips, pegadas o con un mecanismo de bloqueo sencillo. Inspeccione las suyas para entender cómo se fijan.
-
Retire con cuidado las almohadillasUtilice un destornillador plano pequeño para separar con cuidado las almohadillas de los auriculares. Si están pegadas, presione suavemente para evitar dañarlos.
-
Limpiar la superficieUna vez retiradas, utilice un paño limpio y alcohol isopropílico para eliminar cualquier residuo o polvo de la superficie. Esto garantiza una aplicación suave de las nuevas almohadillas.
Paso 4: Coloque las nuevas almohadillas para los oídos
-
Alinee las nuevas almohadillas:Coloque las nuevas almohadillas sobre los auriculares, asegurándose de que todos los clips o ranuras estén alineados correctamente.
-
Asegure las almohadillasDependiendo del método de fijación, puede ajustar las almohadillas a presión, pegarlas o bloquearlas. Asegúrese de que estén bien sujetas para evitar que se muevan durante el uso.
-
Prueba el ajusteColóquese los auriculares y ajuste las almohadillas si es necesario. Deben sentirse cómodos y seguros, sin espacios alrededor de las orejas.
Consejos para el mantenimiento de las almohadillas para los oídos
Reemplazar las almohadillas desgastadas es solo un aspecto del mantenimiento de los auriculares. Para prolongar la vida útil de las nuevas, tenga en cuenta estos consejos:
- Limpieza regular:Limpie suavemente las almohadillas con un paño húmedo para eliminar el sudor y la suciedad.
- Almacenamiento:Guarde los auriculares en un estuche o en un soporte para evitar una presión innecesaria sobre las almohadillas.
- Evite el calor excesivo:Mantenga los auriculares alejados de la luz solar directa o de fuentes de calor, ya que esto puede degradar el material.
Errores comunes que se deben evitar
Si bien reemplazar las almohadillas para los oídos es una tarea relativamente sencilla, hay algunos peligros que hay que tener en cuenta:
- Uso de las almohadillas incorrectas:Asegúrese de que sea compatible con su modelo de auriculares para evitar problemas de ajuste.
- Aplicación de fuerza excesiva:Sea cuidadoso al retirarlo y colocarlo para evitar daños.
- Descuidar la limpieza:No limpiar la superficie puede provocar una mala adhesión o ajuste.
Conclusión
Reemplazar las almohadillas de tus auriculares puede parecer una tarea sencilla, pero puede mejorar significativamente tu experiencia auditiva. Siguiendo esta guía, no solo recuperarás la comodidad y la calidad del sonido, sino que también prolongarás la vida útil de tus queridos auriculares. Recuerda: la clave para un reemplazo sin problemas es la paciencia, las herramientas adecuadas y un poco de cuidado. Ahora, con tus almohadillas nuevas, estás listo para sumergirte de nuevo en el mundo del sonido, donde cada nota es nítida y cada ritmo resuena a la perfección. ¡Disfruta escuchando!
Última actualización: 10 de septiembre de 2025
