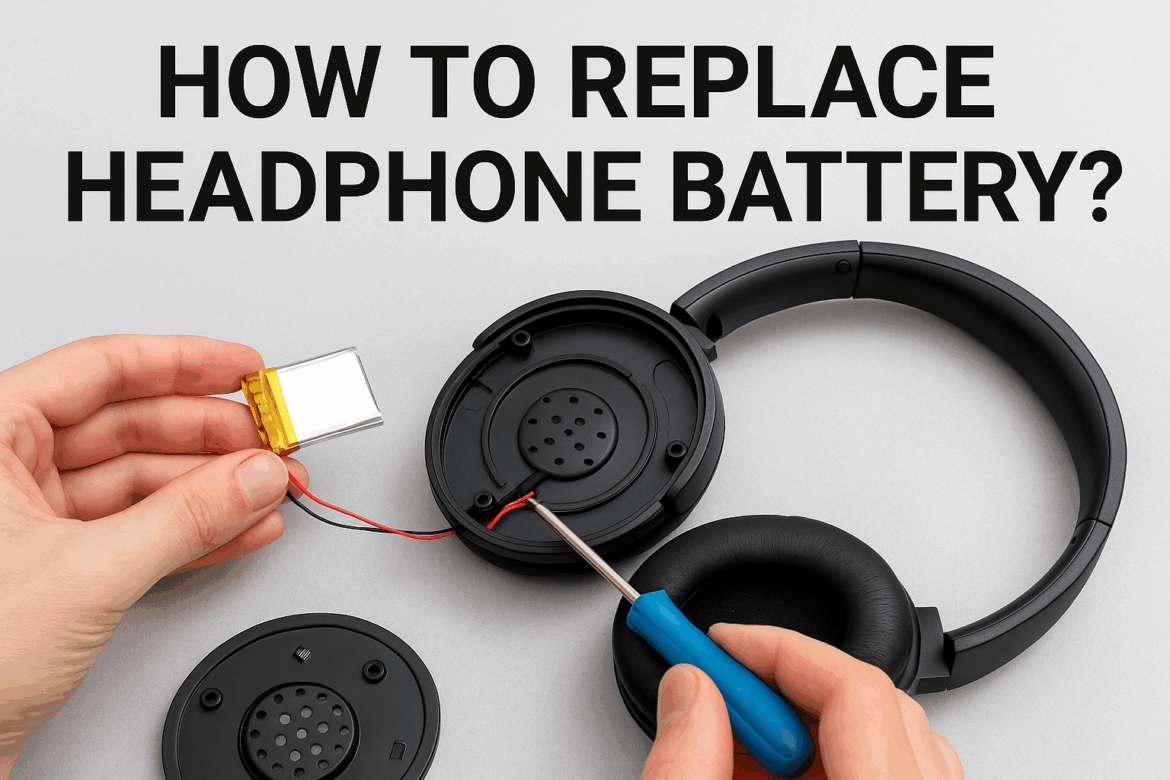
Wie tausche ich die Kopfhörerbatterie aus?
Kopfhörer Kopfhörer sind aus unserem Alltag nicht mehr wegzudenken und bieten eine persönliche Oase des Klangs inmitten des Chaos. Doch wie bei allen elektronischen Geräten kann auch bei ihnen die Akkulaufzeit nachlassen. Der Austausch eines Kopfhörerakkus ist nicht so schwierig, wie es scheint, und mit der richtigen Anleitung können Sie Ihrem geliebten Audiobegleiter neues Leben einhauchen. Wir erklären Ihnen den Vorgang im Detail und stellen sicher, dass Ihre Kopfhörer weiterhin klaren, ununterbrochenen Klang liefern.
Kopfhörer verstehen
Bevor Sie sich mit den Einzelheiten des Batteriewechsels befassen, ist es wichtig zu wissen, welche Art von Kopfhörern Sie besitzen. Kopfhörer gibt es in verschiedenen Ausführungen und jeweils mit einer einzigartigen Batteriekonfiguration. Over-Ear, On-Ear und In-Ear Modelle können unterschiedliche Batterietypen und Platzierungen haben. Einige beliebte Marken wie Bose, Sonyund Beats Einige Modelle verfügen über integrierte Akkus, andere über austauschbare Akkus. Wenn Sie Ihr Modell kennen, können Sie den benötigten Akkutyp bestimmen und feststellen, ob dieser vom Benutzer selbst ausgetauscht werden kann oder professionelle Hilfe benötigt wird.
Werkzeuge, die Sie benötigen
Zum Auswechseln eines Kopfhörerakkus sind einige Präzisionswerkzeuge erforderlich. Hier ist eine Tabelle mit den wichtigsten Werkzeugen, die Sie möglicherweise benötigen:
| Werkzeugname | Zweck |
|---|---|
| Kleiner Schraubendrehersatz | So öffnen Sie das Gehäuse Ihres Kopfhörers |
| Kunststoff-Hebelwerkzeuge | Zum sicheren und beschädigungsfreien Abnehmen des Gehäuses |
| Lötset | Für Kopfhörer mit verlöteten Batteriekontakten |
| Ersatzbatterie | Spezifisch für Ihr Kopfhörermodell |
| Pinzette | Zur Handhabung kleiner Bauteile |
| Klebeband | Zur Sicherung der Batterie |
Wenn Sie diese Werkzeuge zur Hand haben, läuft der Vorgang reibungsloser und effizienter ab. Denken Sie daran: Beim Umgang mit empfindlicher Elektronik ist Geduld der Schlüssel.
Schritt-für-Schritt-Anleitung zum Austauschen der Batterie
Schritt 1: Vorbereitung
Schalten Sie zunächst Ihre Kopfhörer aus und entfernen Sie alle Kabel und Zubehörteile. Legen Sie Ihre Kopfhörer auf eine saubere, ebene Fläche an einem gut beleuchteten Ort. Verwenden Sie ein weiches Tuch, um Kratzer zu vermeiden. Es ist immer eine gute Idee, jeden Schritt beim Zerlegen der Kopfhörer zu fotografieren. Diese dienen als Referenz beim Zusammenbau.
Schritt 2: Öffnen der Kopfhörer
Entfernen Sie mit dem kleinen Schraubendreher vorsichtig alle sichtbaren Schrauben. Bei manchen Modellen sind die Schrauben möglicherweise unter den Ohrpolstern oder Markenaufklebern versteckt. Öffnen Sie das Gehäuse vorsichtig mit dem Kunststoff-Hebelwerkzeug, beginnend an einer Ecke und arbeiten Sie sich nach außen vor. Vermeiden Sie die Verwendung von Metallwerkzeugen, um Kratzer oder Beschädigungen des Kunststoffs zu vermeiden.
Schritt 3: Identifizieren der Batterie
Suchen Sie nach dem Öffnen das Batteriefach. Es handelt sich in der Regel um ein kleines, rechteckiges Bauteil, das über Kabel mit der Hauptplatine verbunden ist. Beachten Sie die Batteriespezifikationen wie Spannung und Kapazität, um sicherzustellen, dass Ihre Ersatzbatterie passt.
Schritt 4: Entfernen der alten Batterie
Wenn Ihre Batterie mit einer Klemme verbunden ist, ziehen Sie diese einfach ab. Bei gelöteten Batterien verwenden Sie das Lötset, um die Drähte vorsichtig zu lösen. Setzen Sie den Lötkolben an die Verbindungsstelle und ziehen Sie die Drähte vorsichtig auseinander. Verwenden Sie für mehr Präzision eine Pinzette.
Schritt 5: Einsetzen der neuen Batterie
Legen Sie die neue Batterie in das Batteriefach ein. Bei Lötverbindungen entfernen Sie einen kleinen Teil der Kabelisolierung und löten die Kabel an die entsprechenden Anschlüsse. Achten Sie bei Clip-On-Batterien auf eine sichere Befestigung. Fixieren Sie die Batterie gegebenenfalls mit Klebeband.
Schritt 6: Zusammenbau der Kopfhörer
Schließen Sie das Gehäuse nach dem Einsetzen der neuen Batterie vorsichtig. Überprüfen Sie anhand der zuvor aufgenommenen Bilder, ob alle Komponenten korrekt ausgerichtet sind. Befestigen Sie die Schrauben wieder, ohne sie zu fest anzuziehen, da dies zu einer Beschädigung der Gewinde führen kann.
Testen Sie Ihre Kopfhörer
Laden Sie Ihre Kopfhörer nach dem Zusammenbau vollständig auf, bevor Sie sie testen, um sicherzustellen, dass der neue Akku ordnungsgemäß funktioniert. Spielen Sie etwas Musik ab, um Unregelmäßigkeiten bei der Klangqualität oder der Konnektivität festzustellen.
Häufige Fehler, die Sie vermeiden sollten
- Verwendung falscher Werkzeuge: Verwenden Sie immer die richtigen Werkzeuge für die jeweilige Arbeit, um Schäden zu vermeiden.
- Vergessen zu dokumentieren: Wenn Sie den Schritt des Fotografierens überspringen, kann der Zusammenbau schwierig werden.
- Kabel verwechseln: Achten Sie auf die Kabelfarben und Anschlüsse, um eine Verpolung zu vermeiden.
- Den Prozess beschleunigen: Nehmen Sie sich Zeit, um Fehler zu vermeiden, insbesondere beim Löten.
Wann Sie professionelle Hilfe suchen sollten
Während der Batteriewechsel in Eigenregie für die meisten machbar ist, finden manche Modelle ihn möglicherweise zu komplex. Ist der Akku tief eingebaut oder löten Sie nicht gerne, ist professionelle Hilfe ratsam. Autorisierte Servicecenter verfügen über das Fachwissen und die Werkzeuge, um einen sicheren Austausch zu gewährleisten.
Schlussfolgerung
Der Austausch eines Kopfhörerakkus ist eine praktische Fähigkeit, die Zeit und Geld spart und die Lebensdauer Ihrer Kopfhörer verlängert. Wenn Sie Ihr Kopfhörermodell kennen und methodisch vorgehen, können Sie den Austausch sicher durchführen. Geduld und Präzision sind dabei Ihre besten Verbündeten. Mit einem neuen Akku sind Ihre Kopfhörer wieder bereit, den Soundtrack Ihrer täglichen Abenteuer zu liefern.
Diese Reparaturreise verbindet Sie auf einer tieferen Ebene mit Ihrem Gerät, ähnlich wie ein Musiker sein Instrument stimmt. Es ist eine Übung in Geduld, Präzision und Wertschätzung für die Technologie, die unser Leben bereichert. Viel Spaß beim Zuhören!
Zuletzt aktualisiert am 11. September 2025
